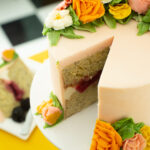
It’s beautiful and expensive, and you don’t want to mess it up. Yep, we’re talking about the time-honored tradition of the wedding cake and how to cut it. Here, we show you the traditional way to cut a tiered circle cake so you can be ready to say yes the next time someone asks you to be a cake cutter.
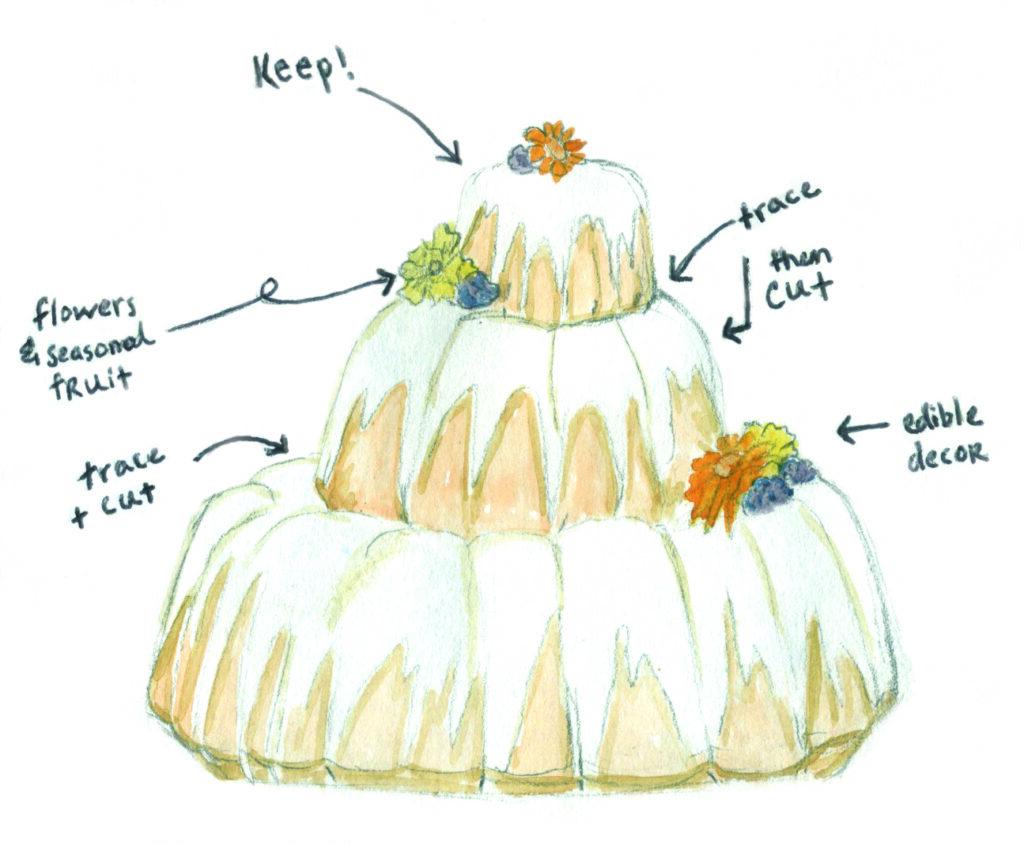
1. Disassemble the cake. That’s right — as soon as the photos are over, it’s time to dismantle that beaut. Begin by removing the top tier, which is traditionally boxed up and given to the couple for them to eat on their first anniversary. More than likely, there is a cake board under this layer and a wooden dowel in the center of the cake, so loosen the top layer from the one below it by running a spatula underneath the cake board. Then, pull the layer straight up. After this, remove any decorations from the rest of the cake and set them aside, either to be thrown away or included as garnishes on the plates with each slice of cake.
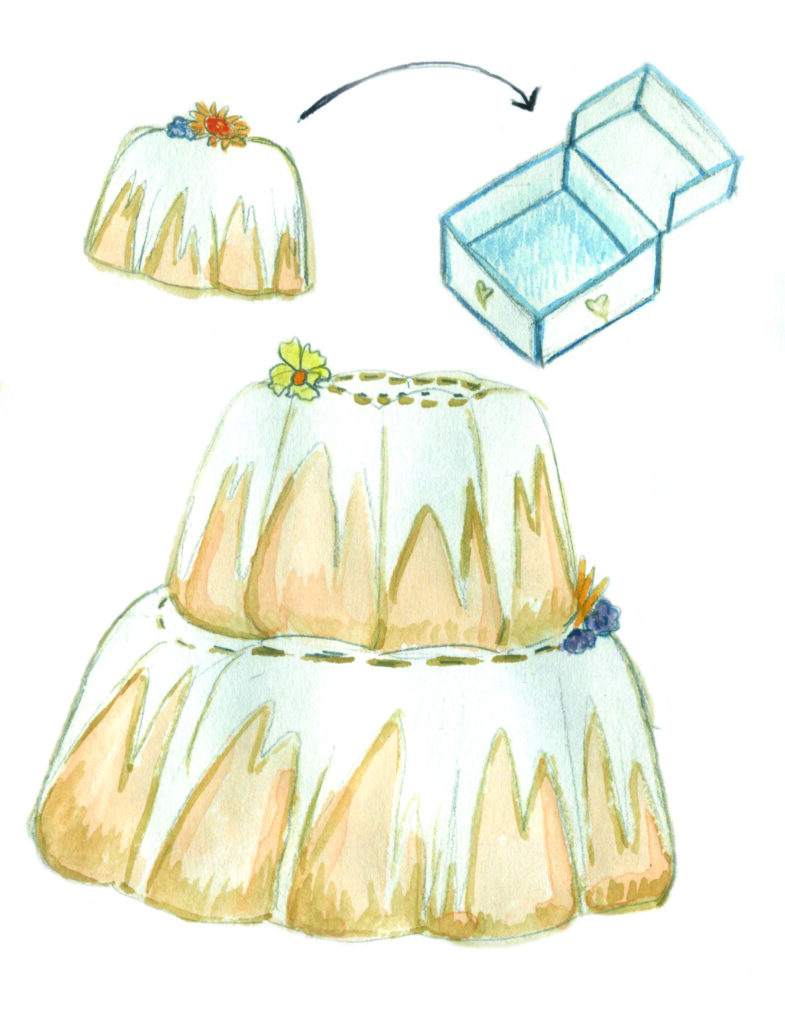
2. Remove the cake board and parchment paper liner from the second tier of cake. With a pair of needle-nose pliers, remove the wooden and/or plastic dowels that are in the cake by twisting the dowels and pulling straight up. This will make the cake easier to cut.
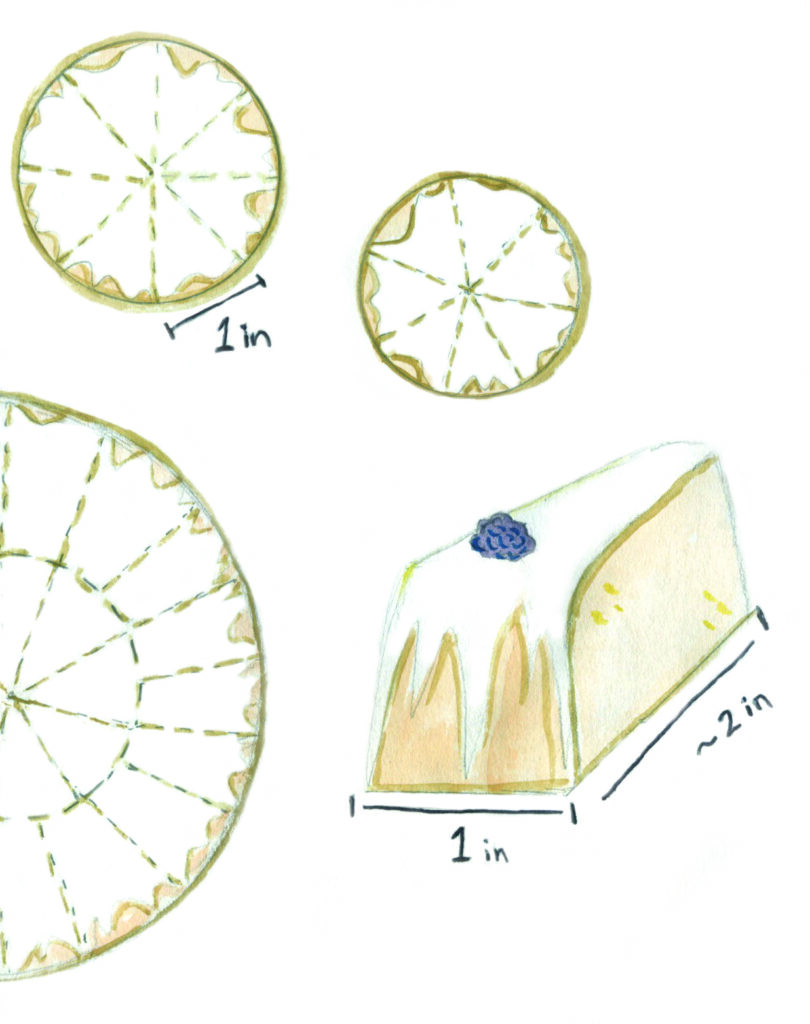
3. In the center of the second layer, cut a circle that is about the same size as the layer of cake that was on top of it. Pro tip: before you remove the top layer, lightly trace a line around it with your knife and then use this line as a guide while you’re cutting.
4. When calculating the amount of people a cake feeds, bakers generally figure each slice of cake will be one inch thick and two inches wide. To stay true to this estimate and ensure there will be enough cake for the guests at the wedding, cut the outside perimeter of the cake into slices that are one inch thick. Then, cut the circle of cake in the middle either into triangular slices or straight across to match the other slices.
5. Repeat steps two through four for each subsequent layer of cake. Then, enjoy a slice yourself. Great work — you did it!

Pro Tips
Keep that cake and yourself looking good, people.
-It’s going to get messy, and we’re still in the middle of a pandemic. Wear gloves to protect yourself and the guests.
-Use a sharp knife that does not have serrated edges. Dip the knife into a pitcher of hot water before slicing to prevent crumbs.
-Clean your knife with a damp cloth after cutting each slice so the icing and crumbs from one piece don’t get on the next slice. This helps keep each slice of cake looking neat.

