By Sarah Geringer
I have kept a garden since age 13, and I have sensitive skin. So, when I learned about a class on how to make my own healing salves from nature, I signed up right away.
At a class taught by Dee Dee Dockins at the Cape Girardeau Conservation Nature Center, I learned how to make my own salves. The class also got me excited about looking for healing plants that already grow on my property, which I can use to make more salves.
Salves are used to soothe dry or irritated skin and promote healing. They can help ease itching and discomfort by rubbing the salve gently on the affected area when you have an issue. When you learn to make them yourself, you can have the additional satisfaction of creating a useful product with your own hands.
It’s important to note that salves are an alternative to traditional medicine. If you struggle with allergies or skin conditions, salves can sometimes be a good remedy for your symptoms. Check with your doctor before using a homemade salve if you have concerns about reactivity.
There are three basic ingredients for making salves from nature. First, you will need dried herbs or plants from your garden. You will also need a good-quality olive or coconut oil carrier. Finally, you will need beeswax, which you can purchase in convenient pellet form.
In the class, we used dried yarrow as the herbal component of the salve. It is good for helping with insect stings, burns and dermatitis. However, it is not recommended for use by pregnant mothers. Dee Dee collected the wild yarrow from a field and dried it upside down in her garage before the class.
To prep before the class, Dee Dee filled a glass Mason jar 2/3 full of the dried leaves and flowers, then covered them with oil. She put the jar inside of a crockpot filled with three inches of water and periodically heated the water to 120 degrees over 24 hours. Then she strained the oil through a cheesecloth.
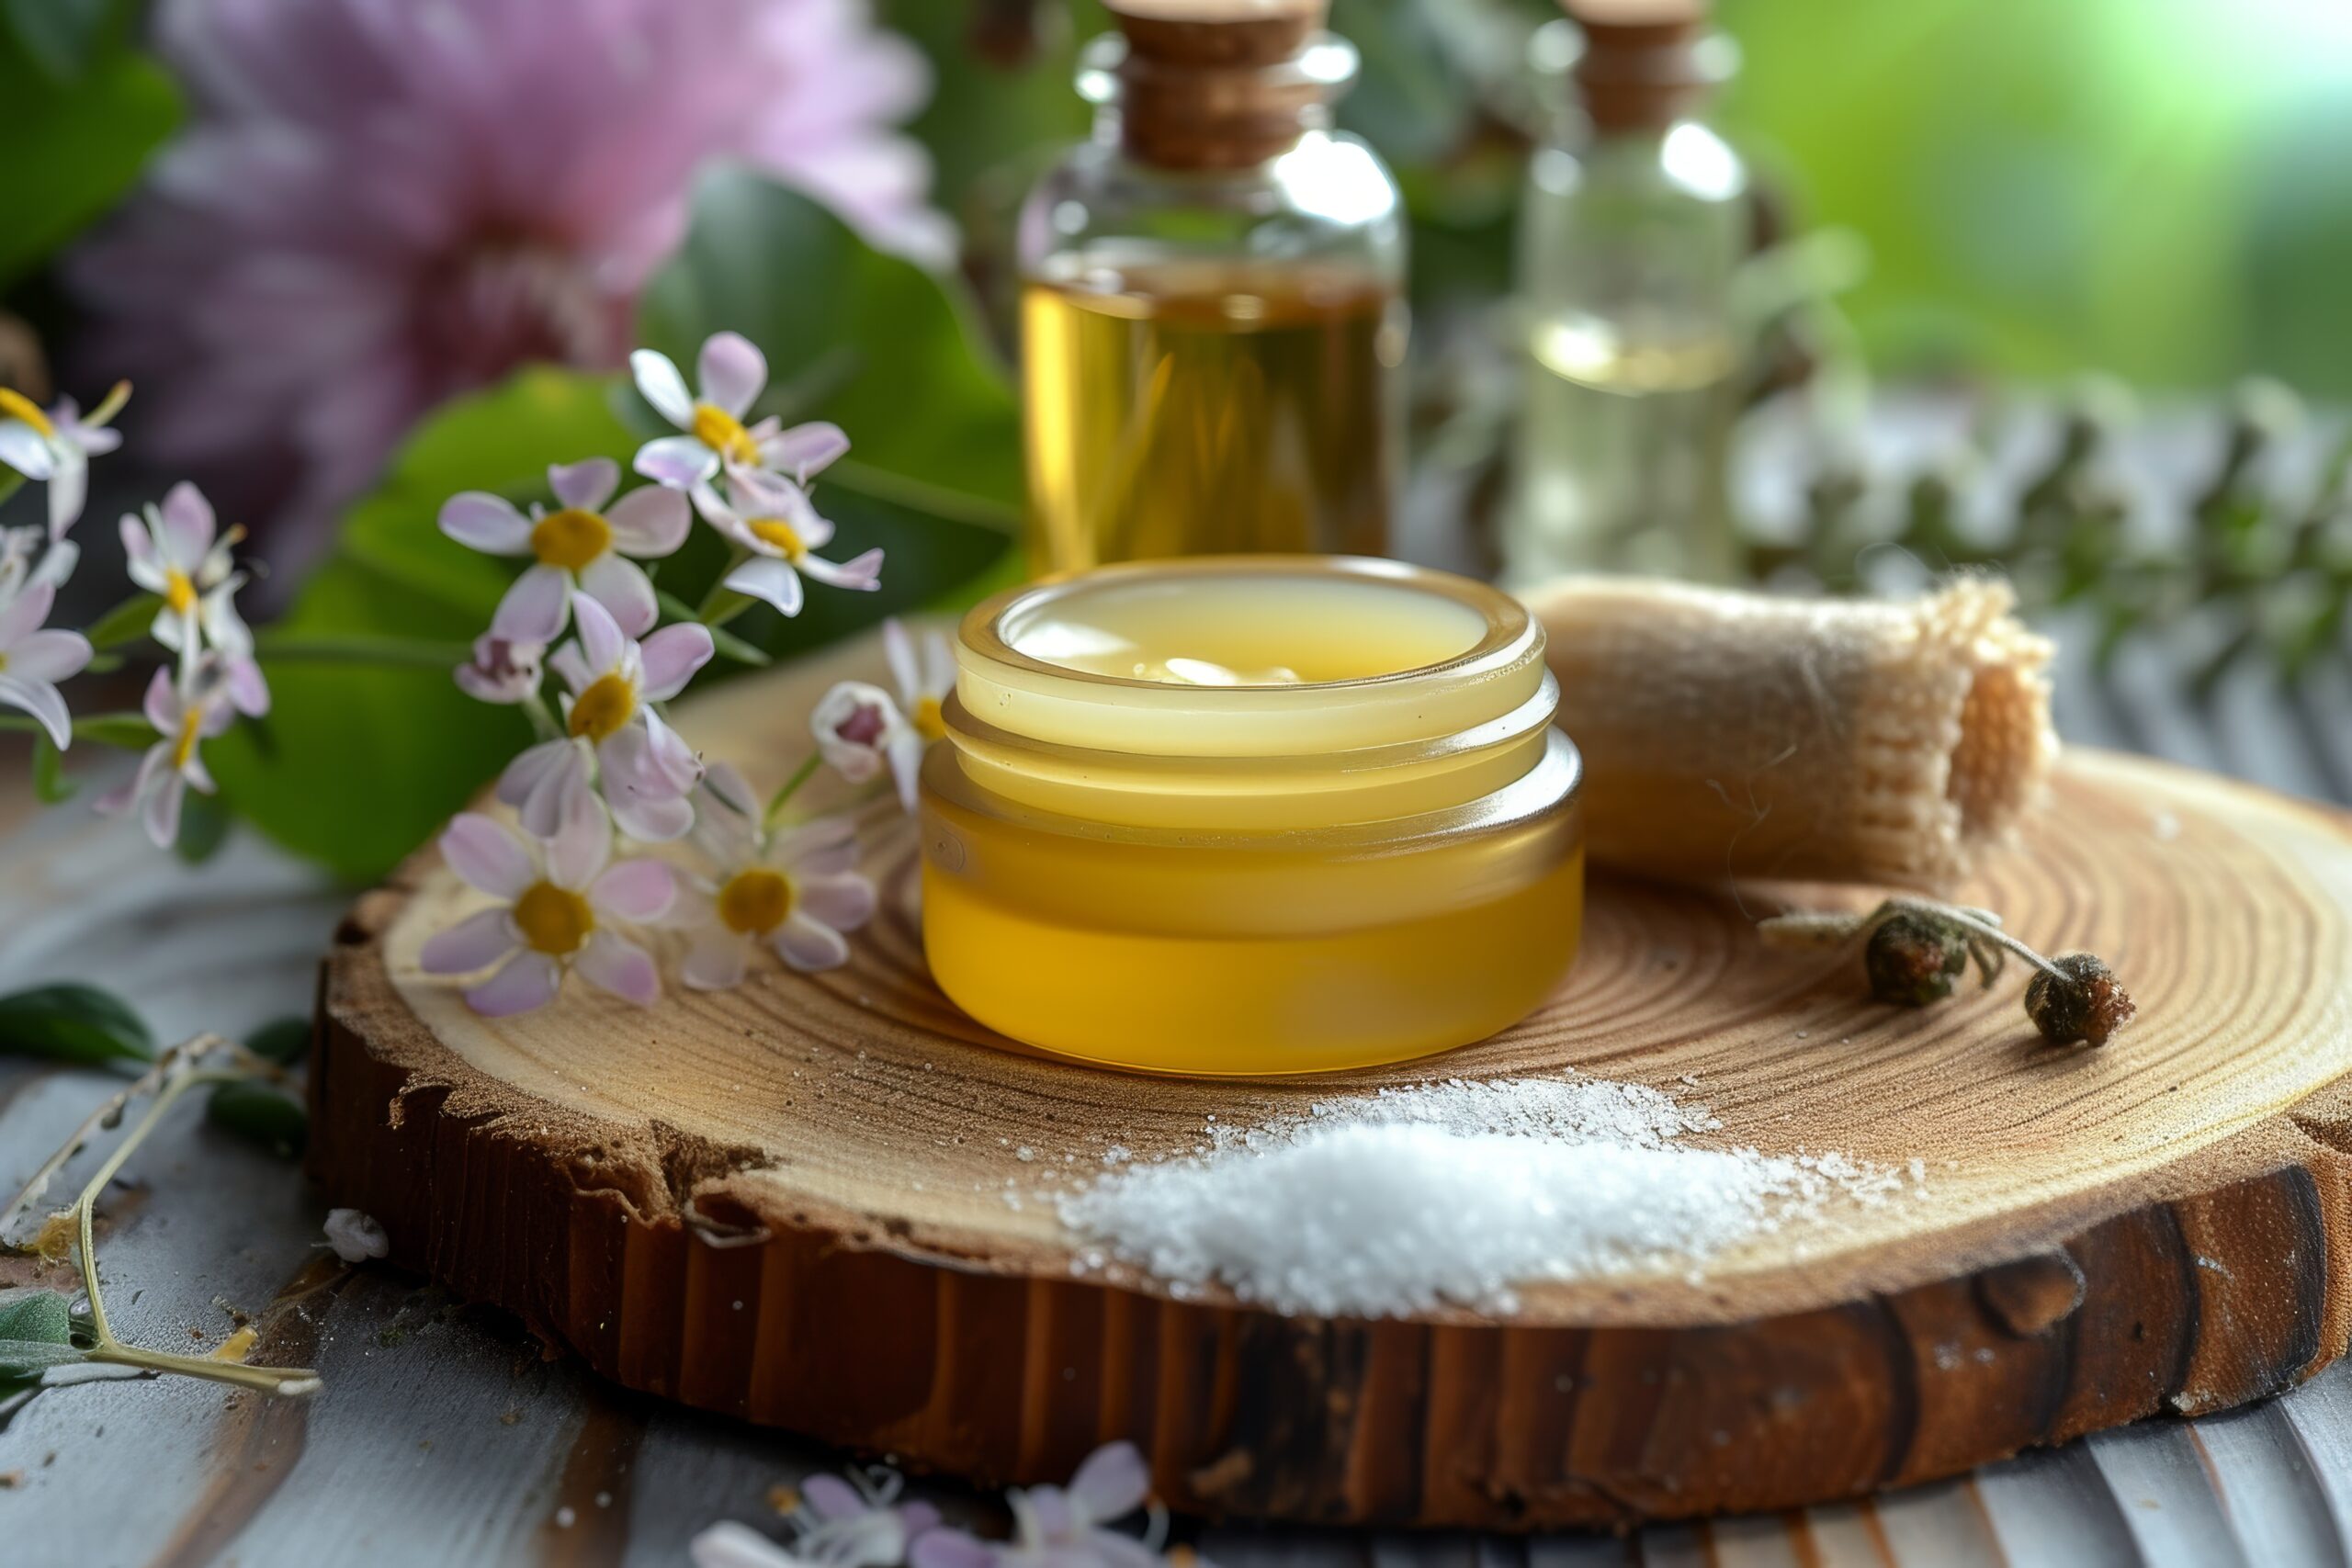
During the class, we heated the jar of infused oil in a pot of simmering water. We carefully poured beeswax pellets into the oil at a ratio of one part beeswax to four parts oil. Once the beeswax was completely melted, we poured the salve into clean tins. At that point, you can add a few drops of essential oils to each tin. Dee Dee recommends adding vitamin E for its healing properties, and you can add others for scent. Good choices are lavender, eucalyptus, rosemary, tea tree or a combination of your liking.
I am happy with the results, and I will use this technique to make more salves in 2025. I hope you are inspired to do the same.
Here are a few salve ingredient lists to get you started:
Poison Ivy Calmer
Jewelweed leaves and flowers (This is best used fresh, not dried.)
Olive or coconut oil
Beeswax pellets
Essential oil of your choice
Diaper Rash Reliever
Plantain leaves and seeds (This is a common plant in many yards.)
Olive or coconut oil
Beeswax pellets
Essential oil of your choice
Sweet Violet Swelling Reliever
Violet flowers (These commonly grow in yards in springtime.)
Olive or coconut oil
Beeswax pellets
Essential oil of your choice
Benefits to making and using salves
- Clean ingredients help sensitive skin
- A natural solution for common skin issues
- The pleasure of using plants from your garden or yard
- Affordable option, since you make it in bulk
- Nice gift to share with friends and family

