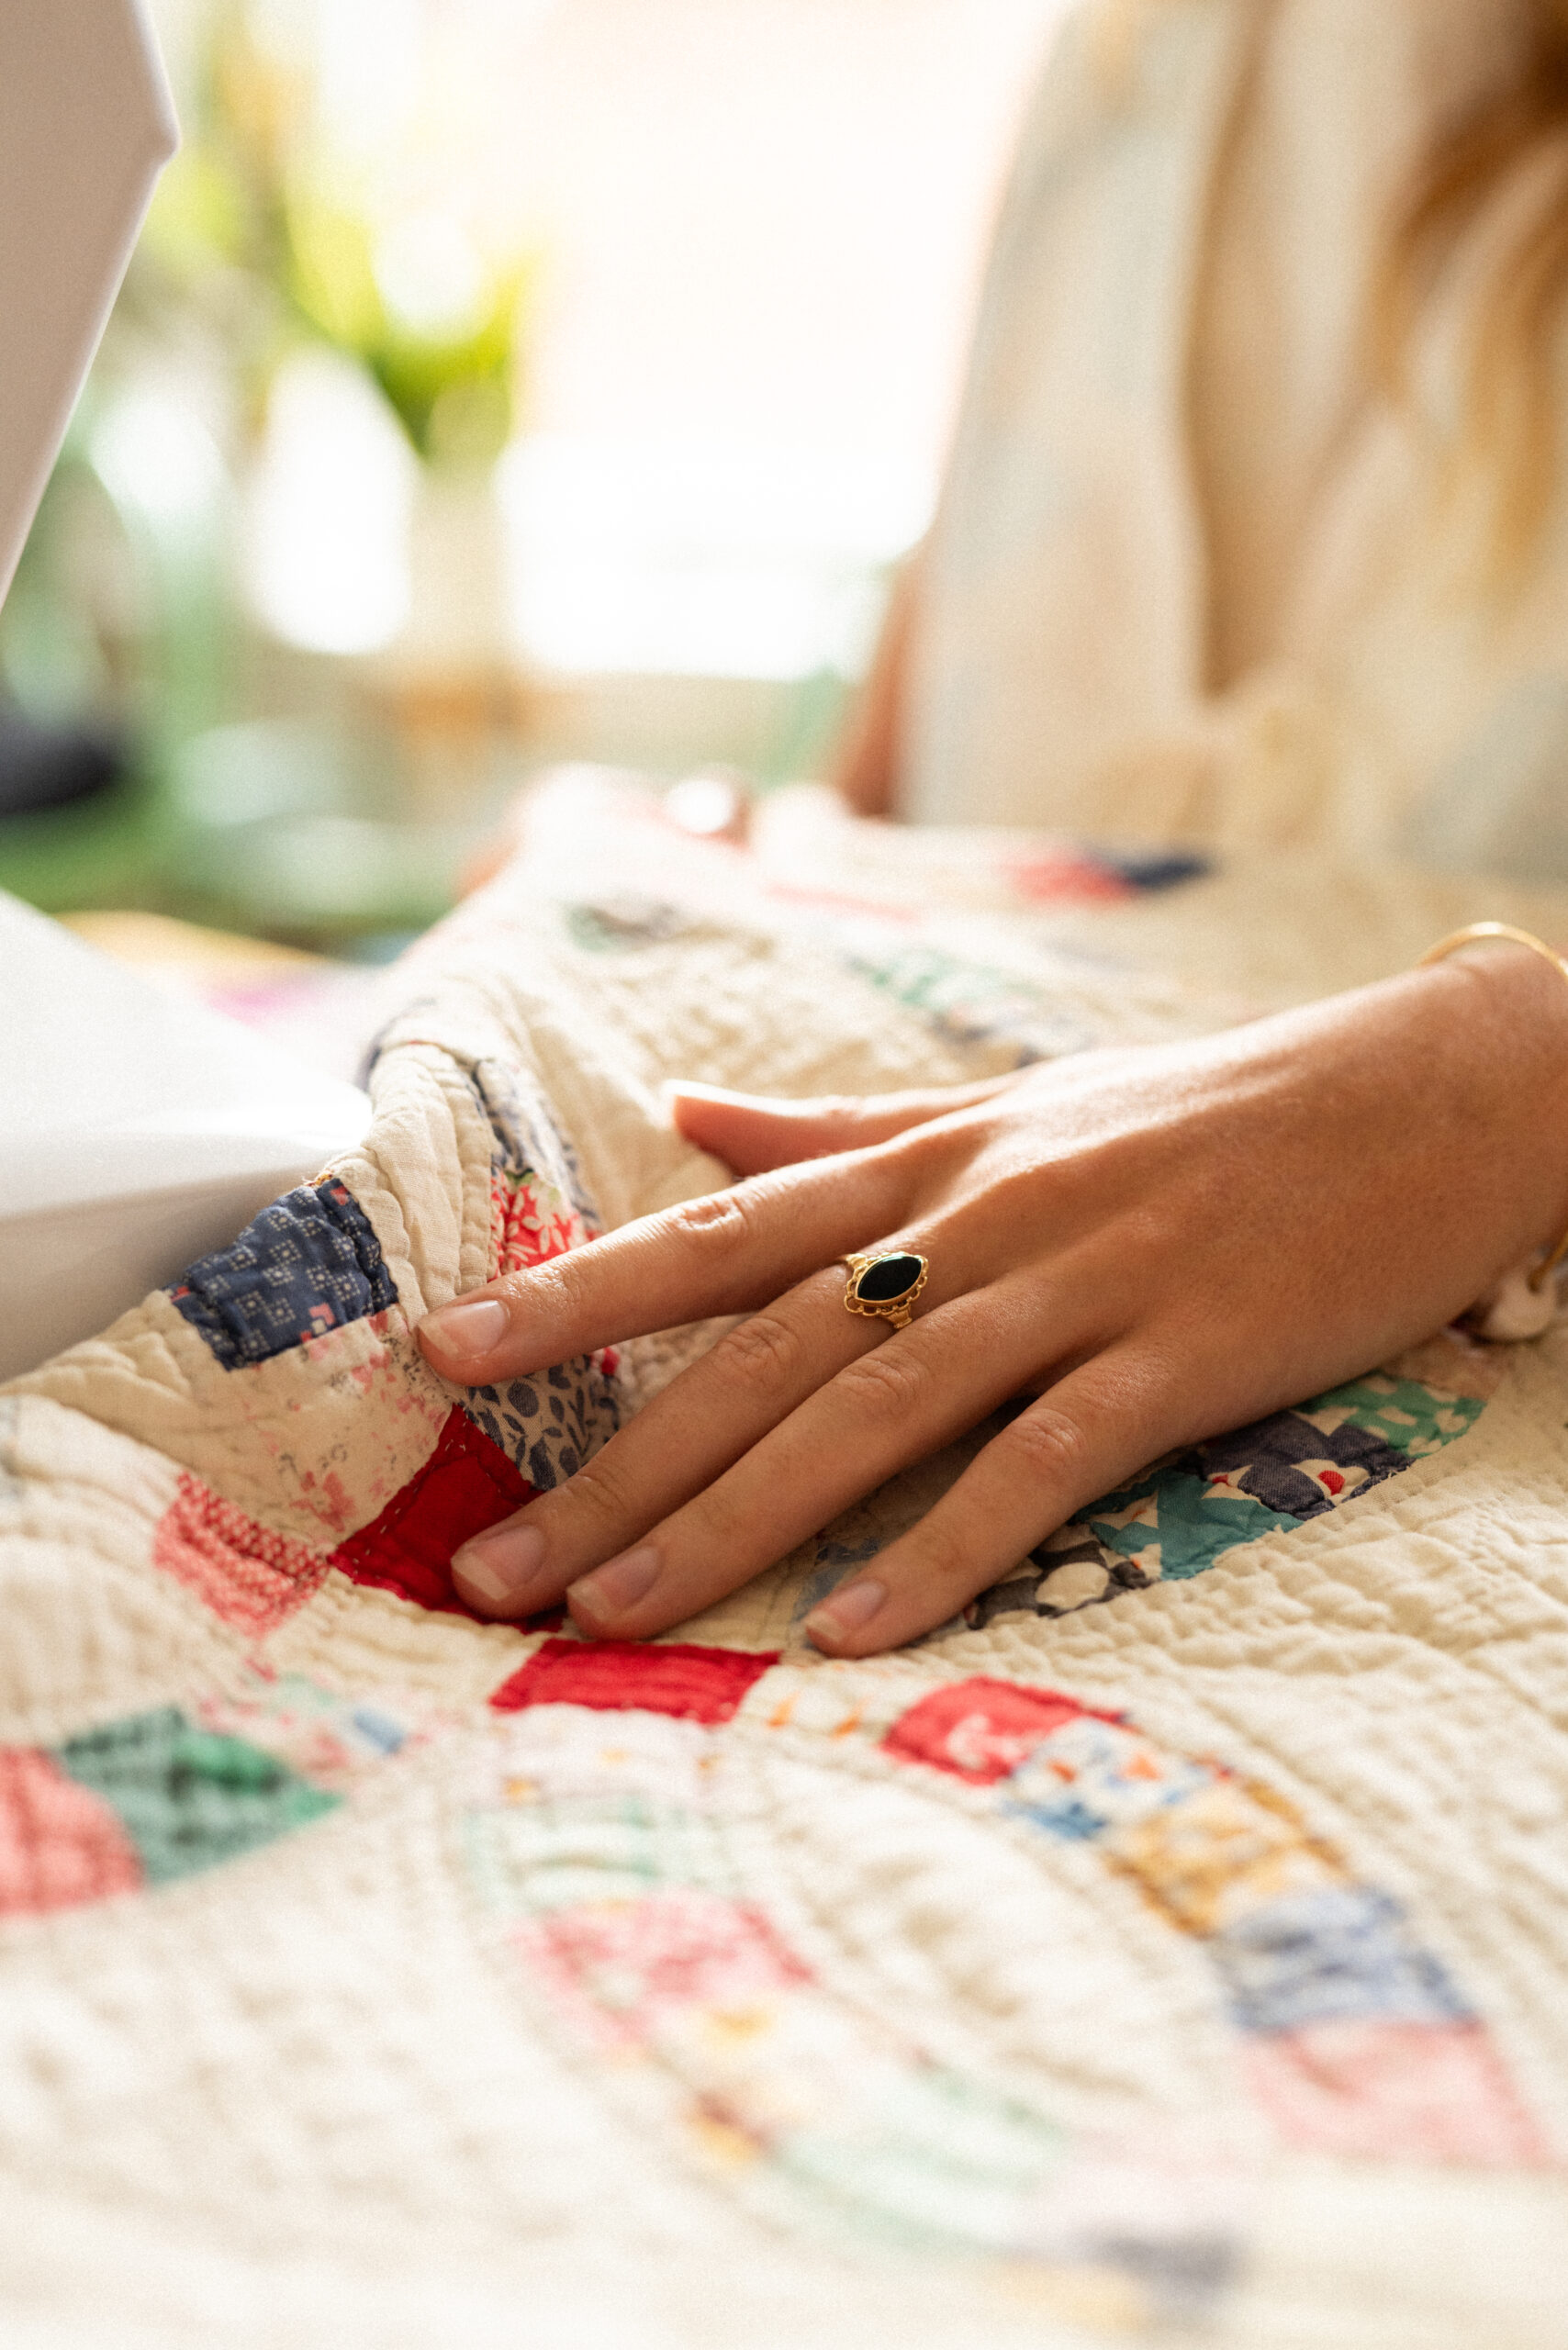
When Rachel Bohnert looked at a damaged quilt her great-grandmother Emma Steffens had made, she saw how it could be repurposed into a jacket to give it new life. After convincing her mother to let her cut it up, she sewed a jacket for herself from it, as well as a vest.
“It’s amazing that I’m looking at pieces that [my great-grandmother] made, and I’m holding pieces that she made probably [in the] late ‘40s, early ‘50s, so that’s just like a piece of history for my family. My grandmother would have used this quilt as her bedspread when she was growing up,” Bohnert says. “So, the fact that I can bring this back to life and continue to give it love and attention [means a lot to me].”
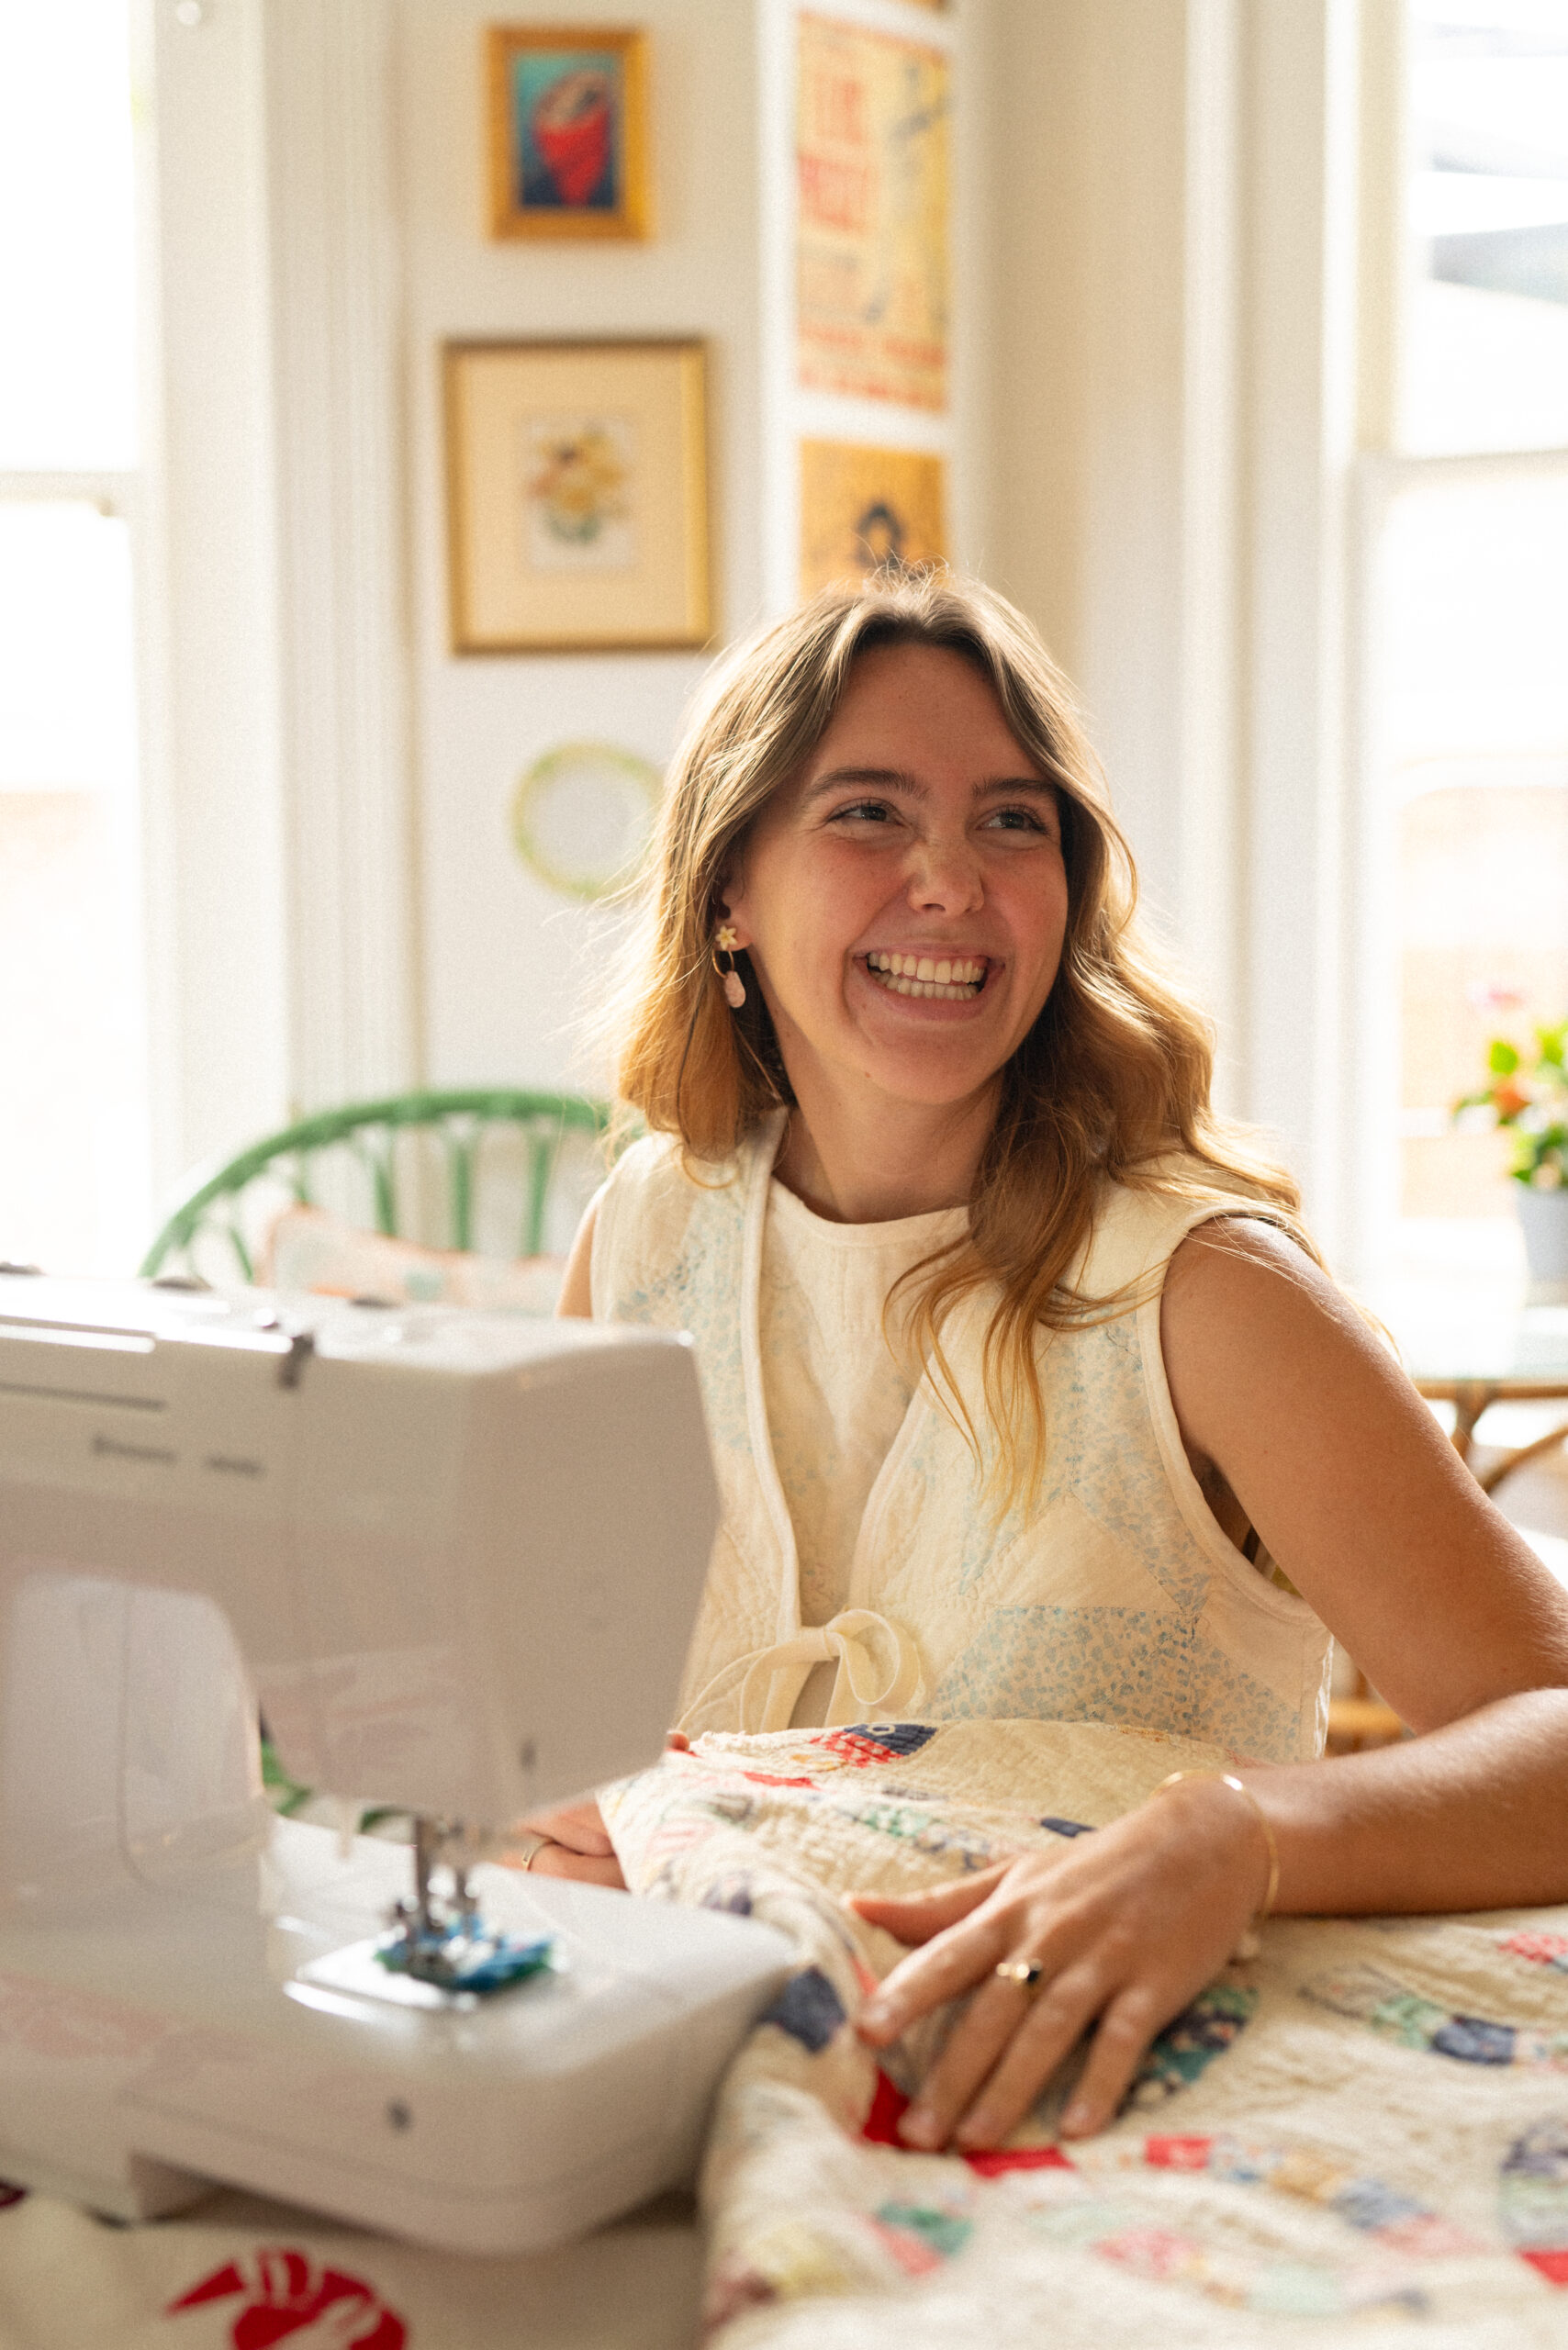
In August 2023, Bohnert walked into Better Days Studio, a boutique in downtown Cape Girardeau, wearing the quilted vest she’d made, and owner Elizabeth Gibbs noticed. Gibbs asked Bohnert if she had made it, and when Bohnert said yes, Gibbs asked if she wanted to make more clothes like it to sell in her boutique. Passionate about sewing and a recent Texas A&M University graduate who had decided to forego law school because she’d realized she wasn’t passionate about it, Bohnert excitedly agreed. In September, she launched her clothing line Sand + Berries, a brand she creates from repurposed fabrics that she thrifts, such as quilts, curtains, sheets, blankets and other materials.
Bohnert says when first creating a piece, she enjoys laying the fabric out to decide how she wants the pattern to lay and which colors to feature on the clothing item.
“[Fabric] kind of speaks to me, I guess,” Bohnert says.
Bohnert’s grandmother initially showed her how to sew, and when Bohnert turned 8, she took sewing as one of her 4-H courses, spending the next eight years progressively learning more about sewing from her teacher Janet Etzold at Etzold’s dining room table. Bohnert says she began by making a “simple dress with elastic at the waistline and at the top,” which she wore in her third grade school photos, and worked her way through more and more difficult projects. In high school, she says she didn’t sew as much because the skill wasn’t valued by her peers, but she reclaimed her passion while in college.
Bohnert plans to expand her business through Instagram and online platforms, giving people beyond this region access to her brand. Through repurposing materials representative of this area, she wears and shares the history and environment of where she is from in rural Perry County with others. For example, she loves that her great-grandmother turned a feed sack into a quilt Bohnert could then turn into a vest, women continuing the life cycle of the fabric through the skill of sewing.
“Learning the history of how feed sack quilts became a thing with companies starting to put print on them, and a more desirable print, [so] the women would tell their husbands, ‘Oh, buy this brand of feed, then I can make a quilt or clothing out of it [is really cool],’” Bohnert says. “So, I think it’s cool that women kind of made their way into the feed community like that.”
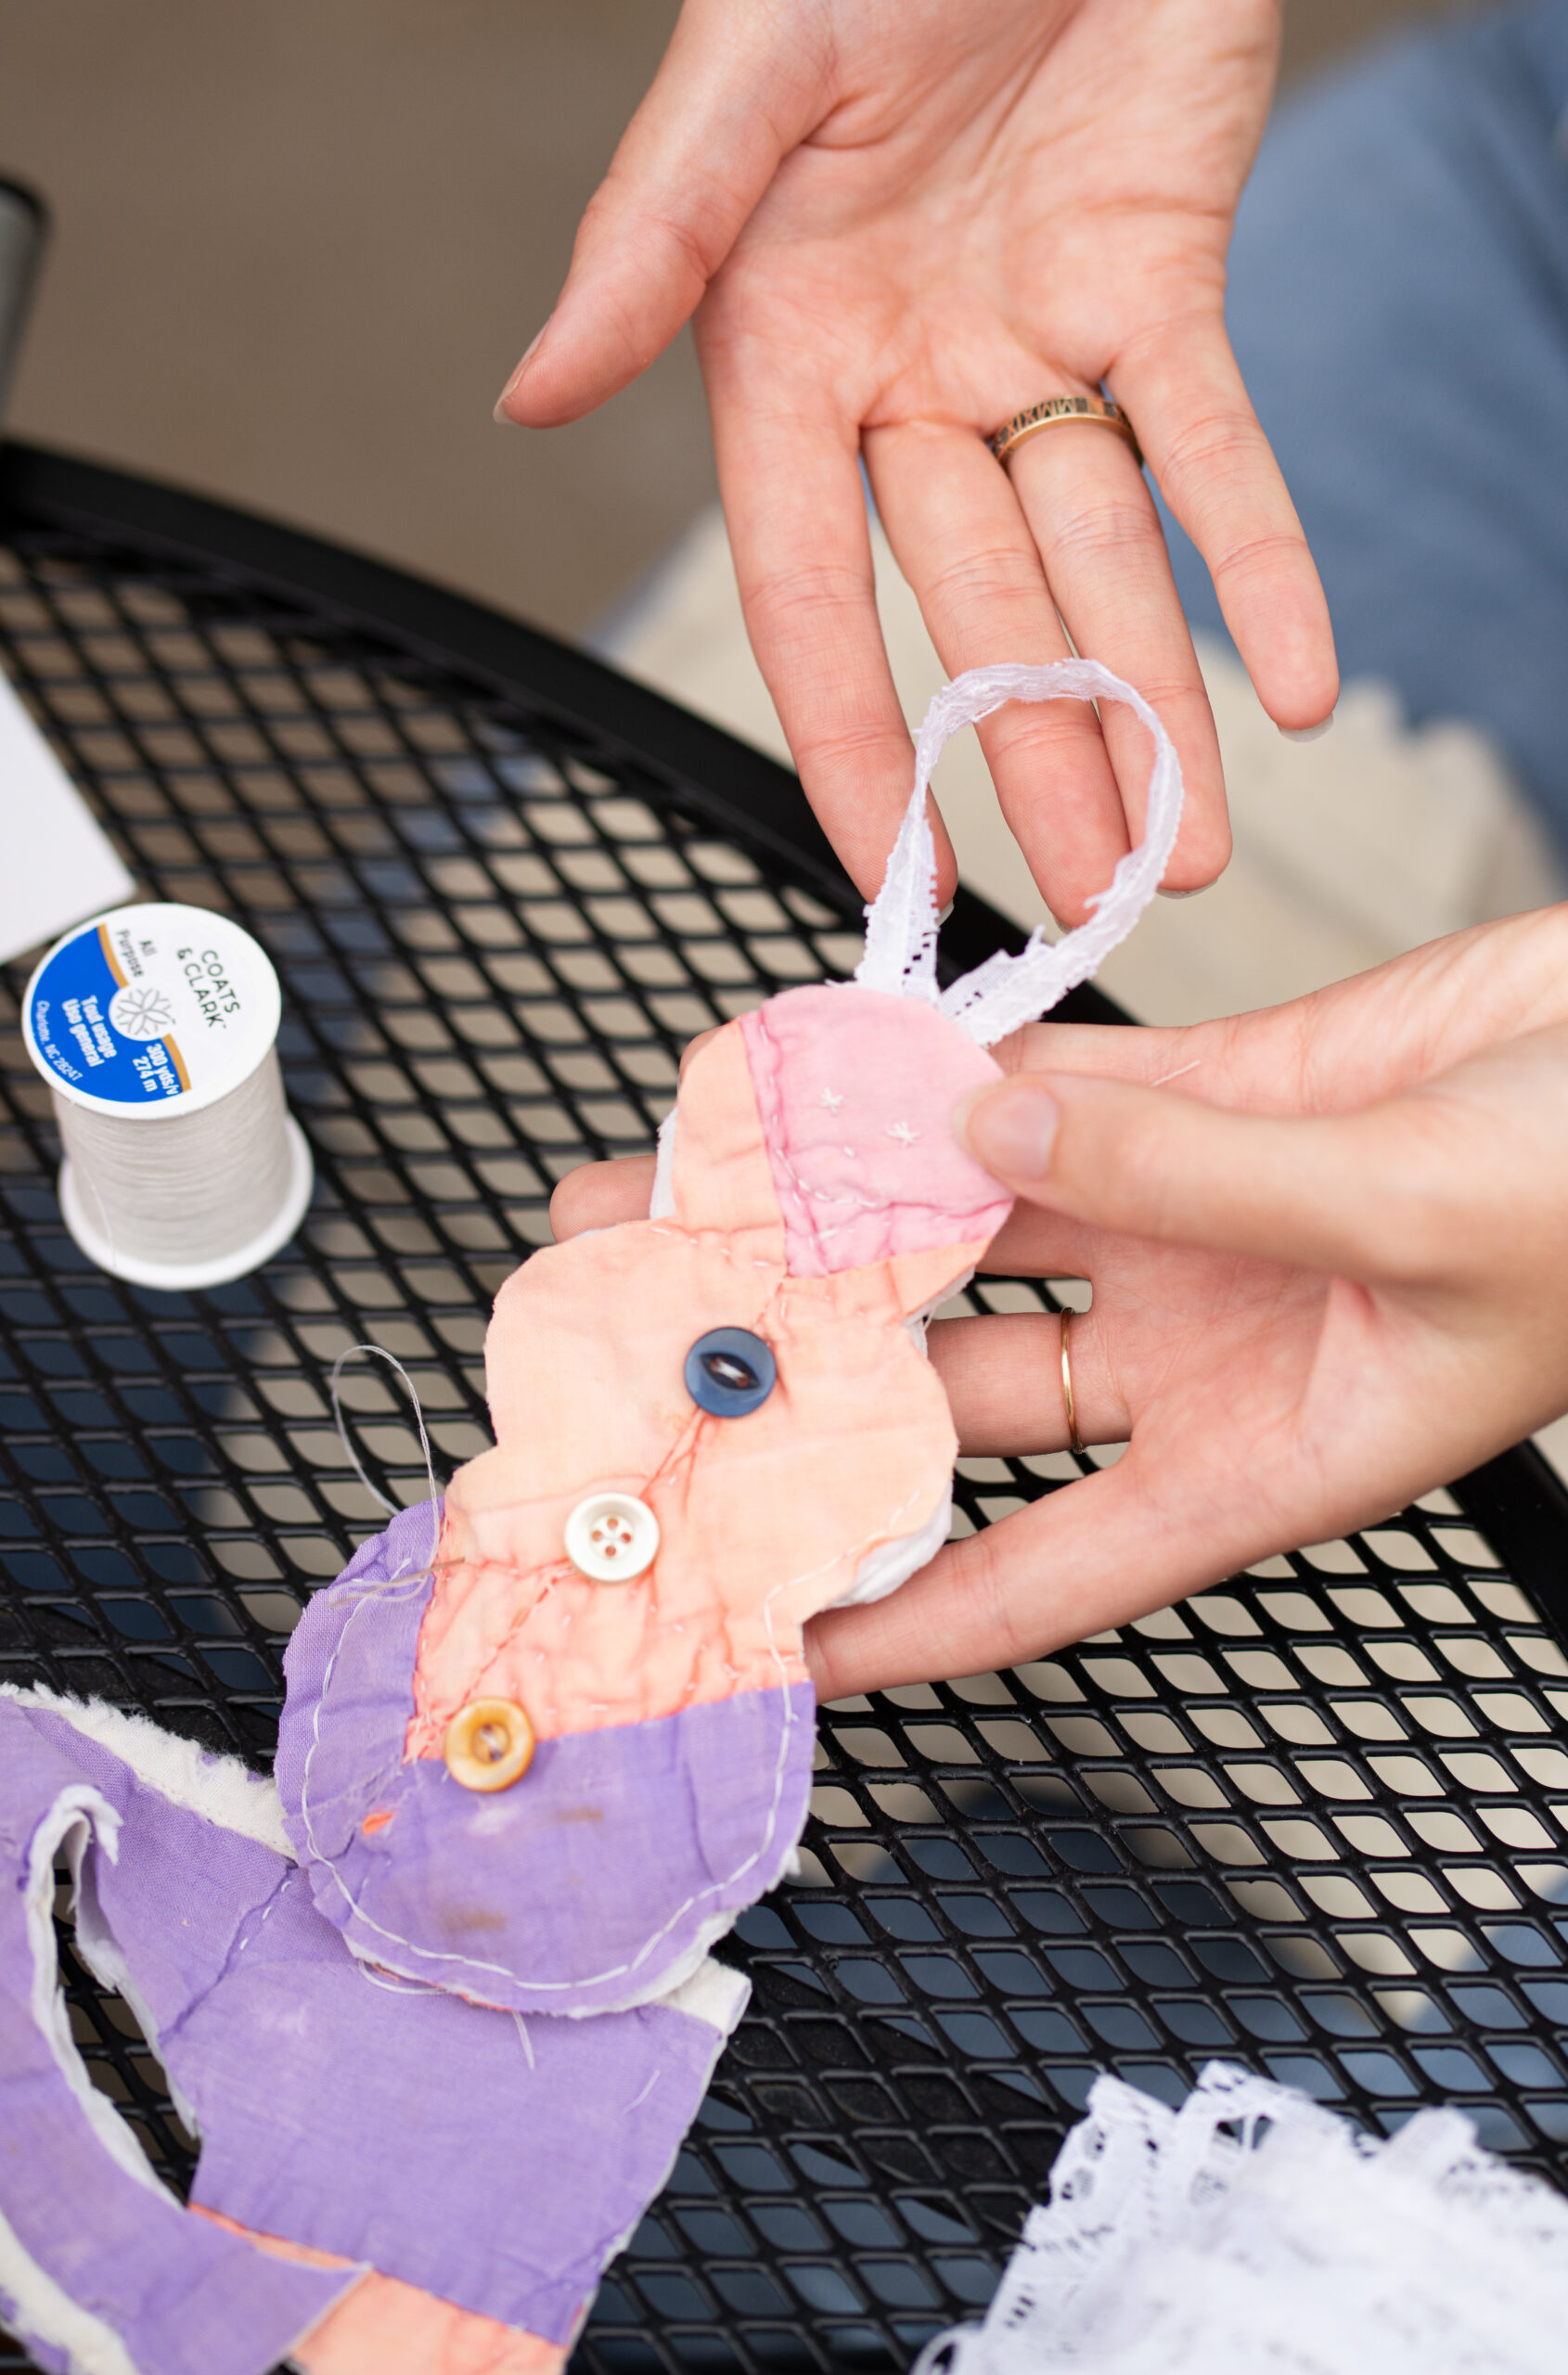
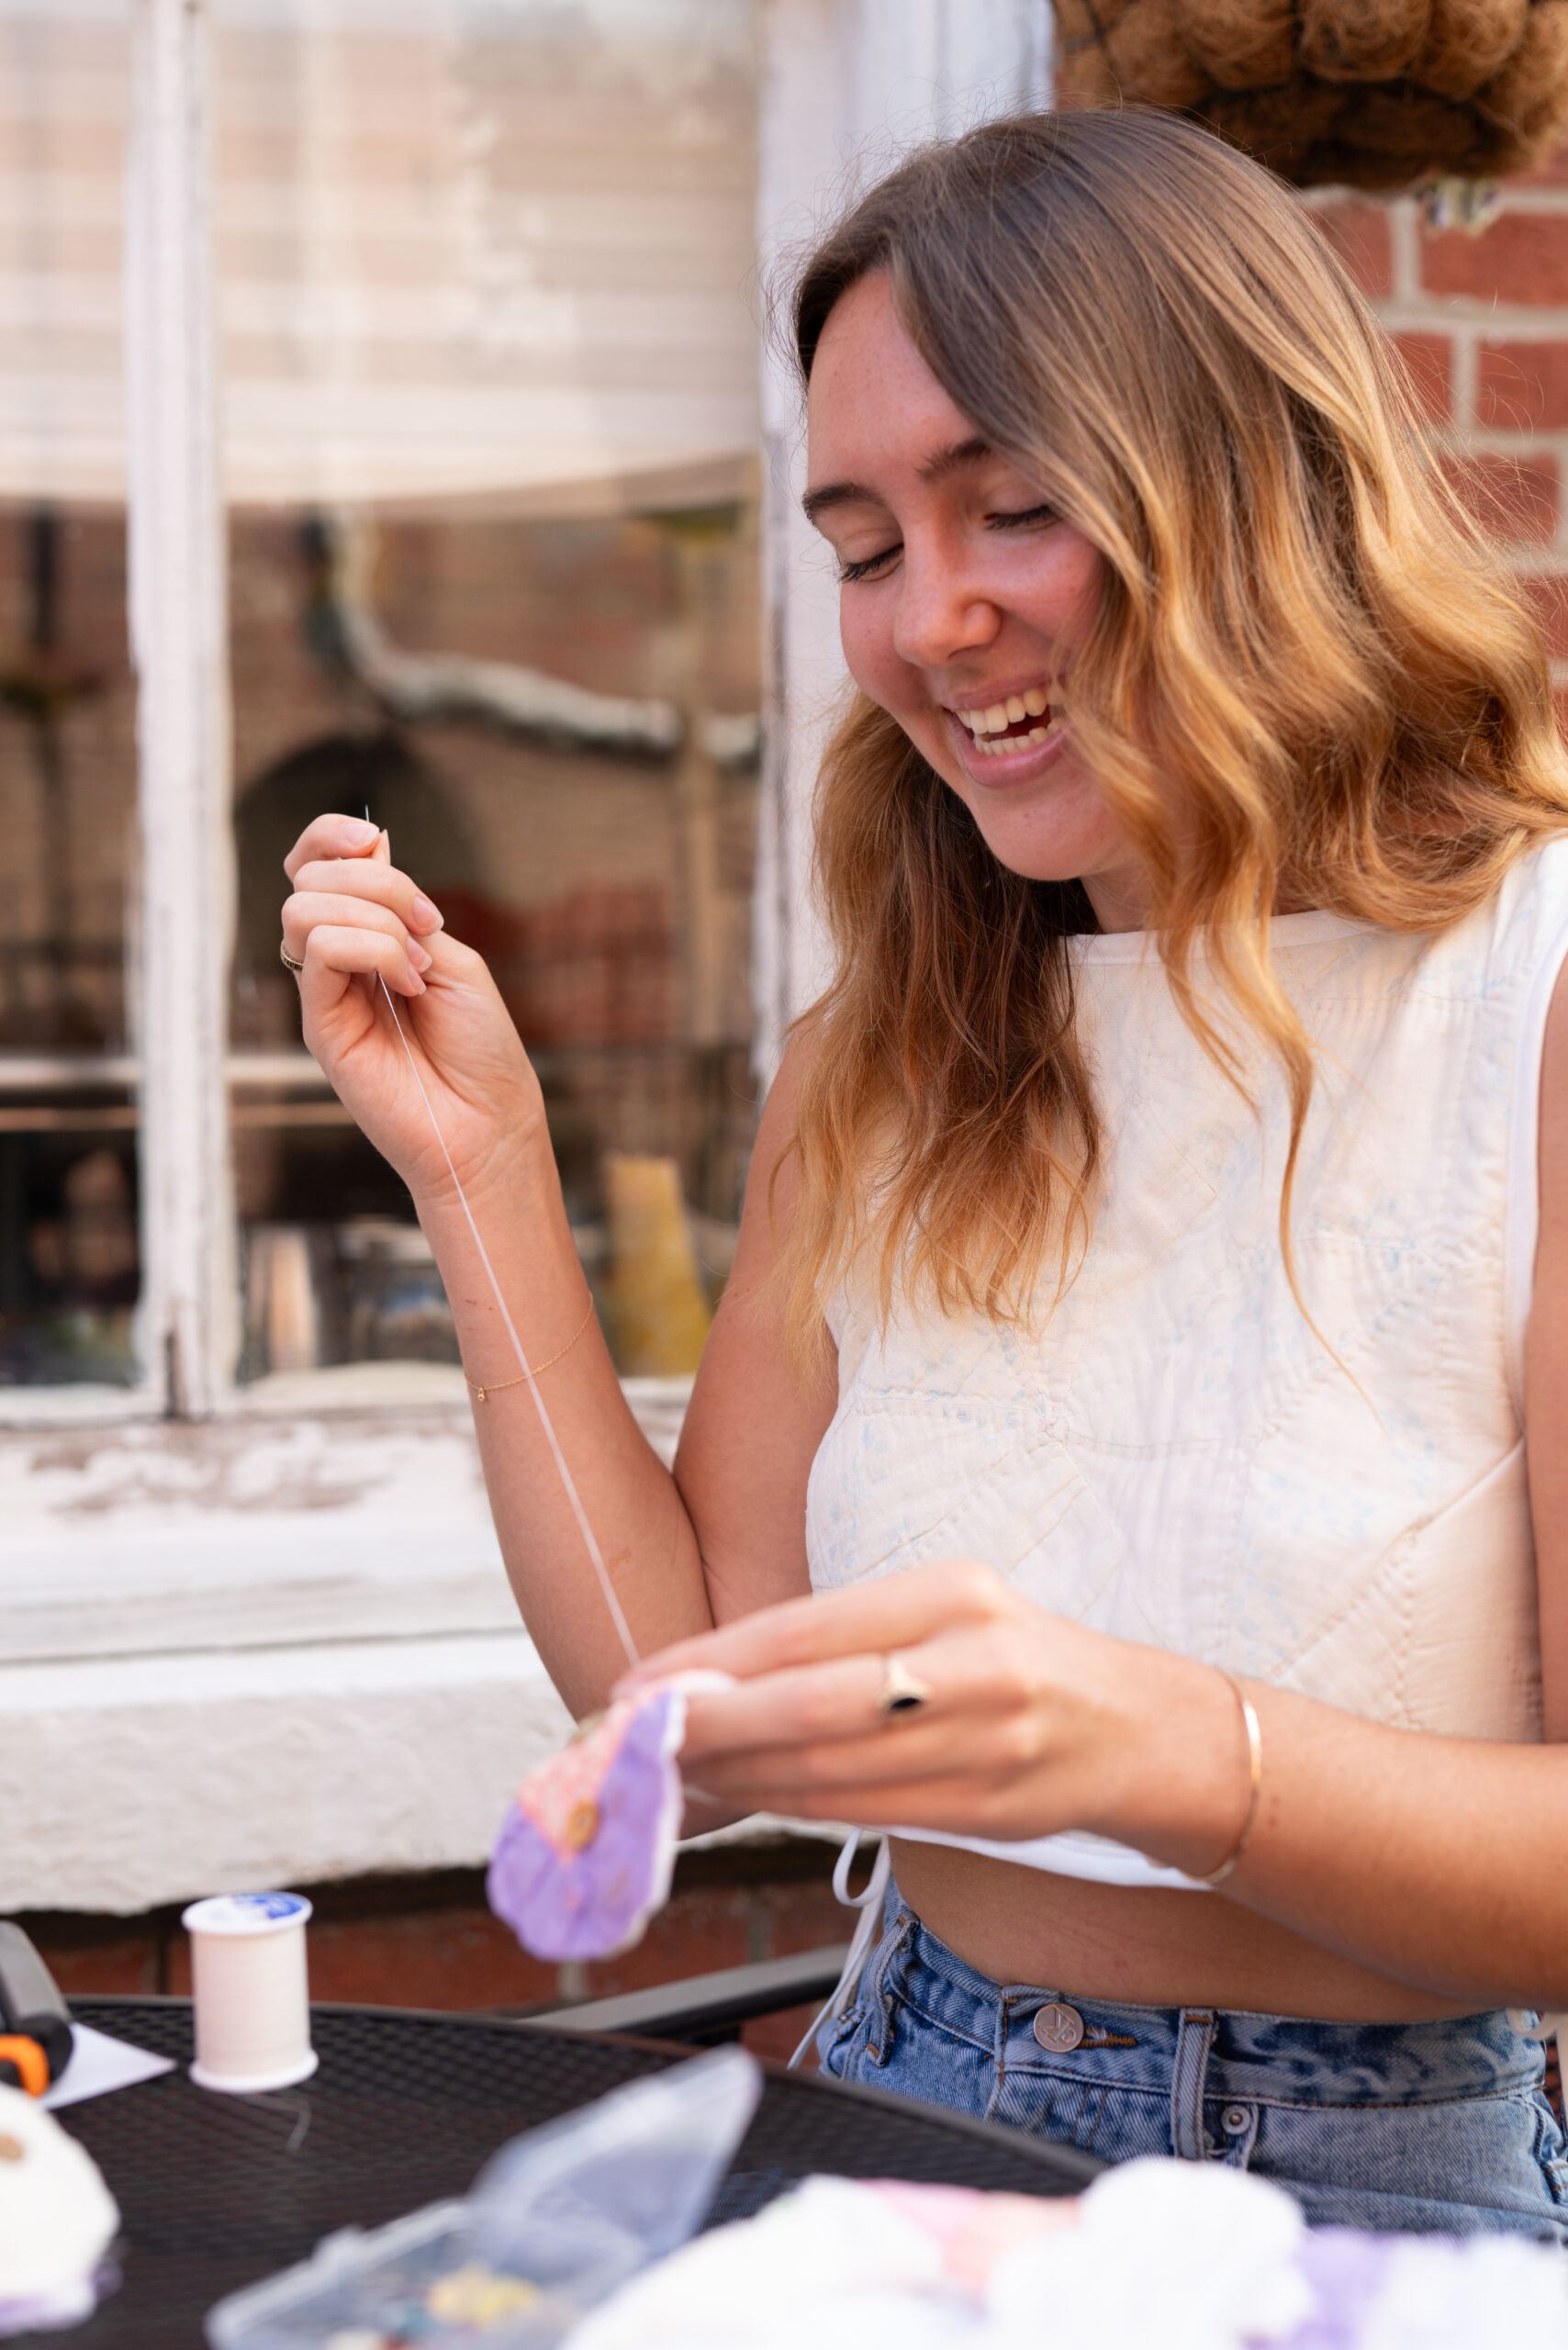
Here, Bohnert teaches us how to sew a snowman Christmas ornament — and yes, for hers, she used part of a quilt made by her great-grandmother to give to a family member for Christmas.
Make your own ornament
1. Find a snowman design on a Christmas card or on the internet and cut it out to use as a stencil for your design on the fabric. You can also buy a stencil for this part of the process if you don’t want to repurpose paper, or you can freehand the cut.
2. Look at the material to decide which part of it you want to use for your ornament. Lay the stencil on that part of the material and cut around it to make one side of the ornament.
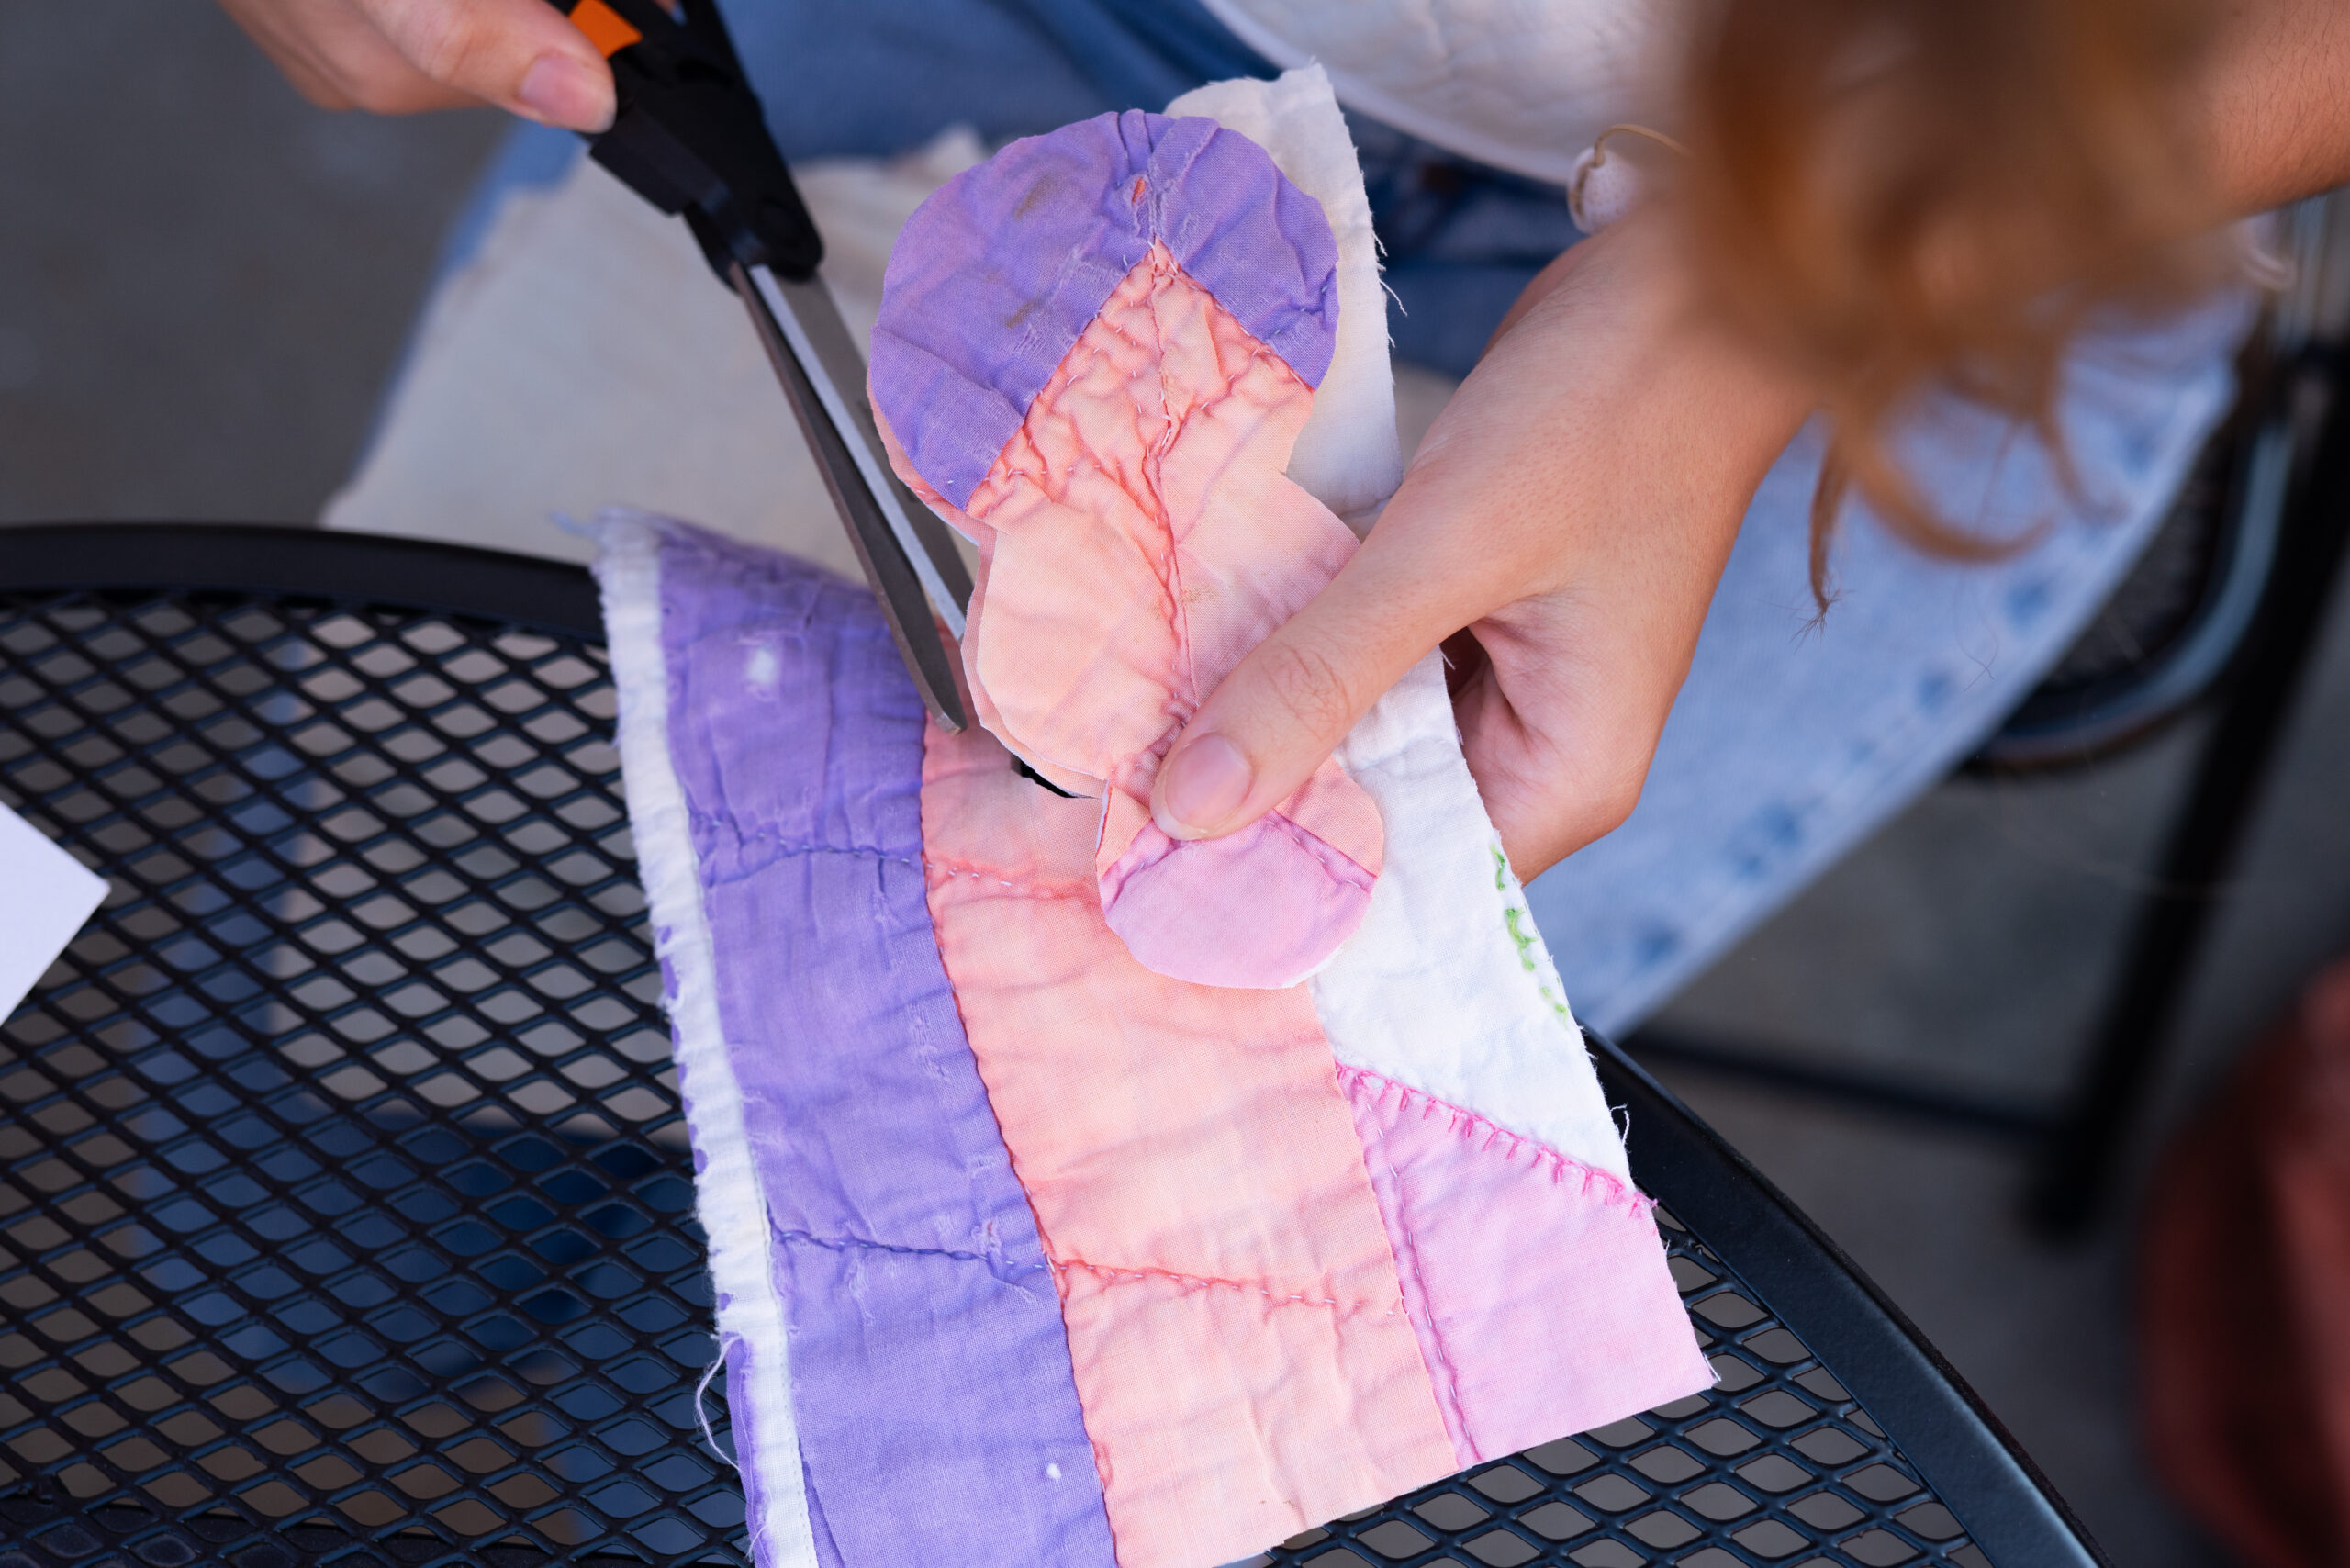
3. Lay the cutout on another part of the material you want to feature as the back of the ornament, and cut around it to make the back half of the ornament.
4. Thread your needle. Bohnert says she likes to double thread the needle by tying the two pieces of thread together on the end opposite the needle for extra strength.
5. Sew three repurposed buttons on the front side of the snowman material. Start by pushing the needle and thread through the back side of the material to the front so the knot will be hidden on the inside of the ornament when you sew the front and back pieces together. You can use the same piece of thread and leave it connected to sew on all three buttons if you’d like. Then, cut off the excess thread and tie the ends of the thread together on the back of the fabric.
6. Stitch the face on the snowman on the same piece of fabric the buttons are sewn on, using the needle and thread to create the design of the eyes, nose and smile however you would like. Bohnert often uses a star, snowflake or circle design for the eyes. Again, be sure for the first stitch that you are pushing the needle and thread from the back of the material to the front so the knot of your thread will be hidden when the two pieces of material are sewn together. Then, cut off the excess thread and tie the ends of the thread together on the back of the fabric.
7. Begin stitching together the front and back pieces of material, starting by pushing the needle and thread from the back of the material to the front and putting the needle back in the material to push it from the front to the back as close to the last stitch as possible. Continue this stitch along the base of the snowman.
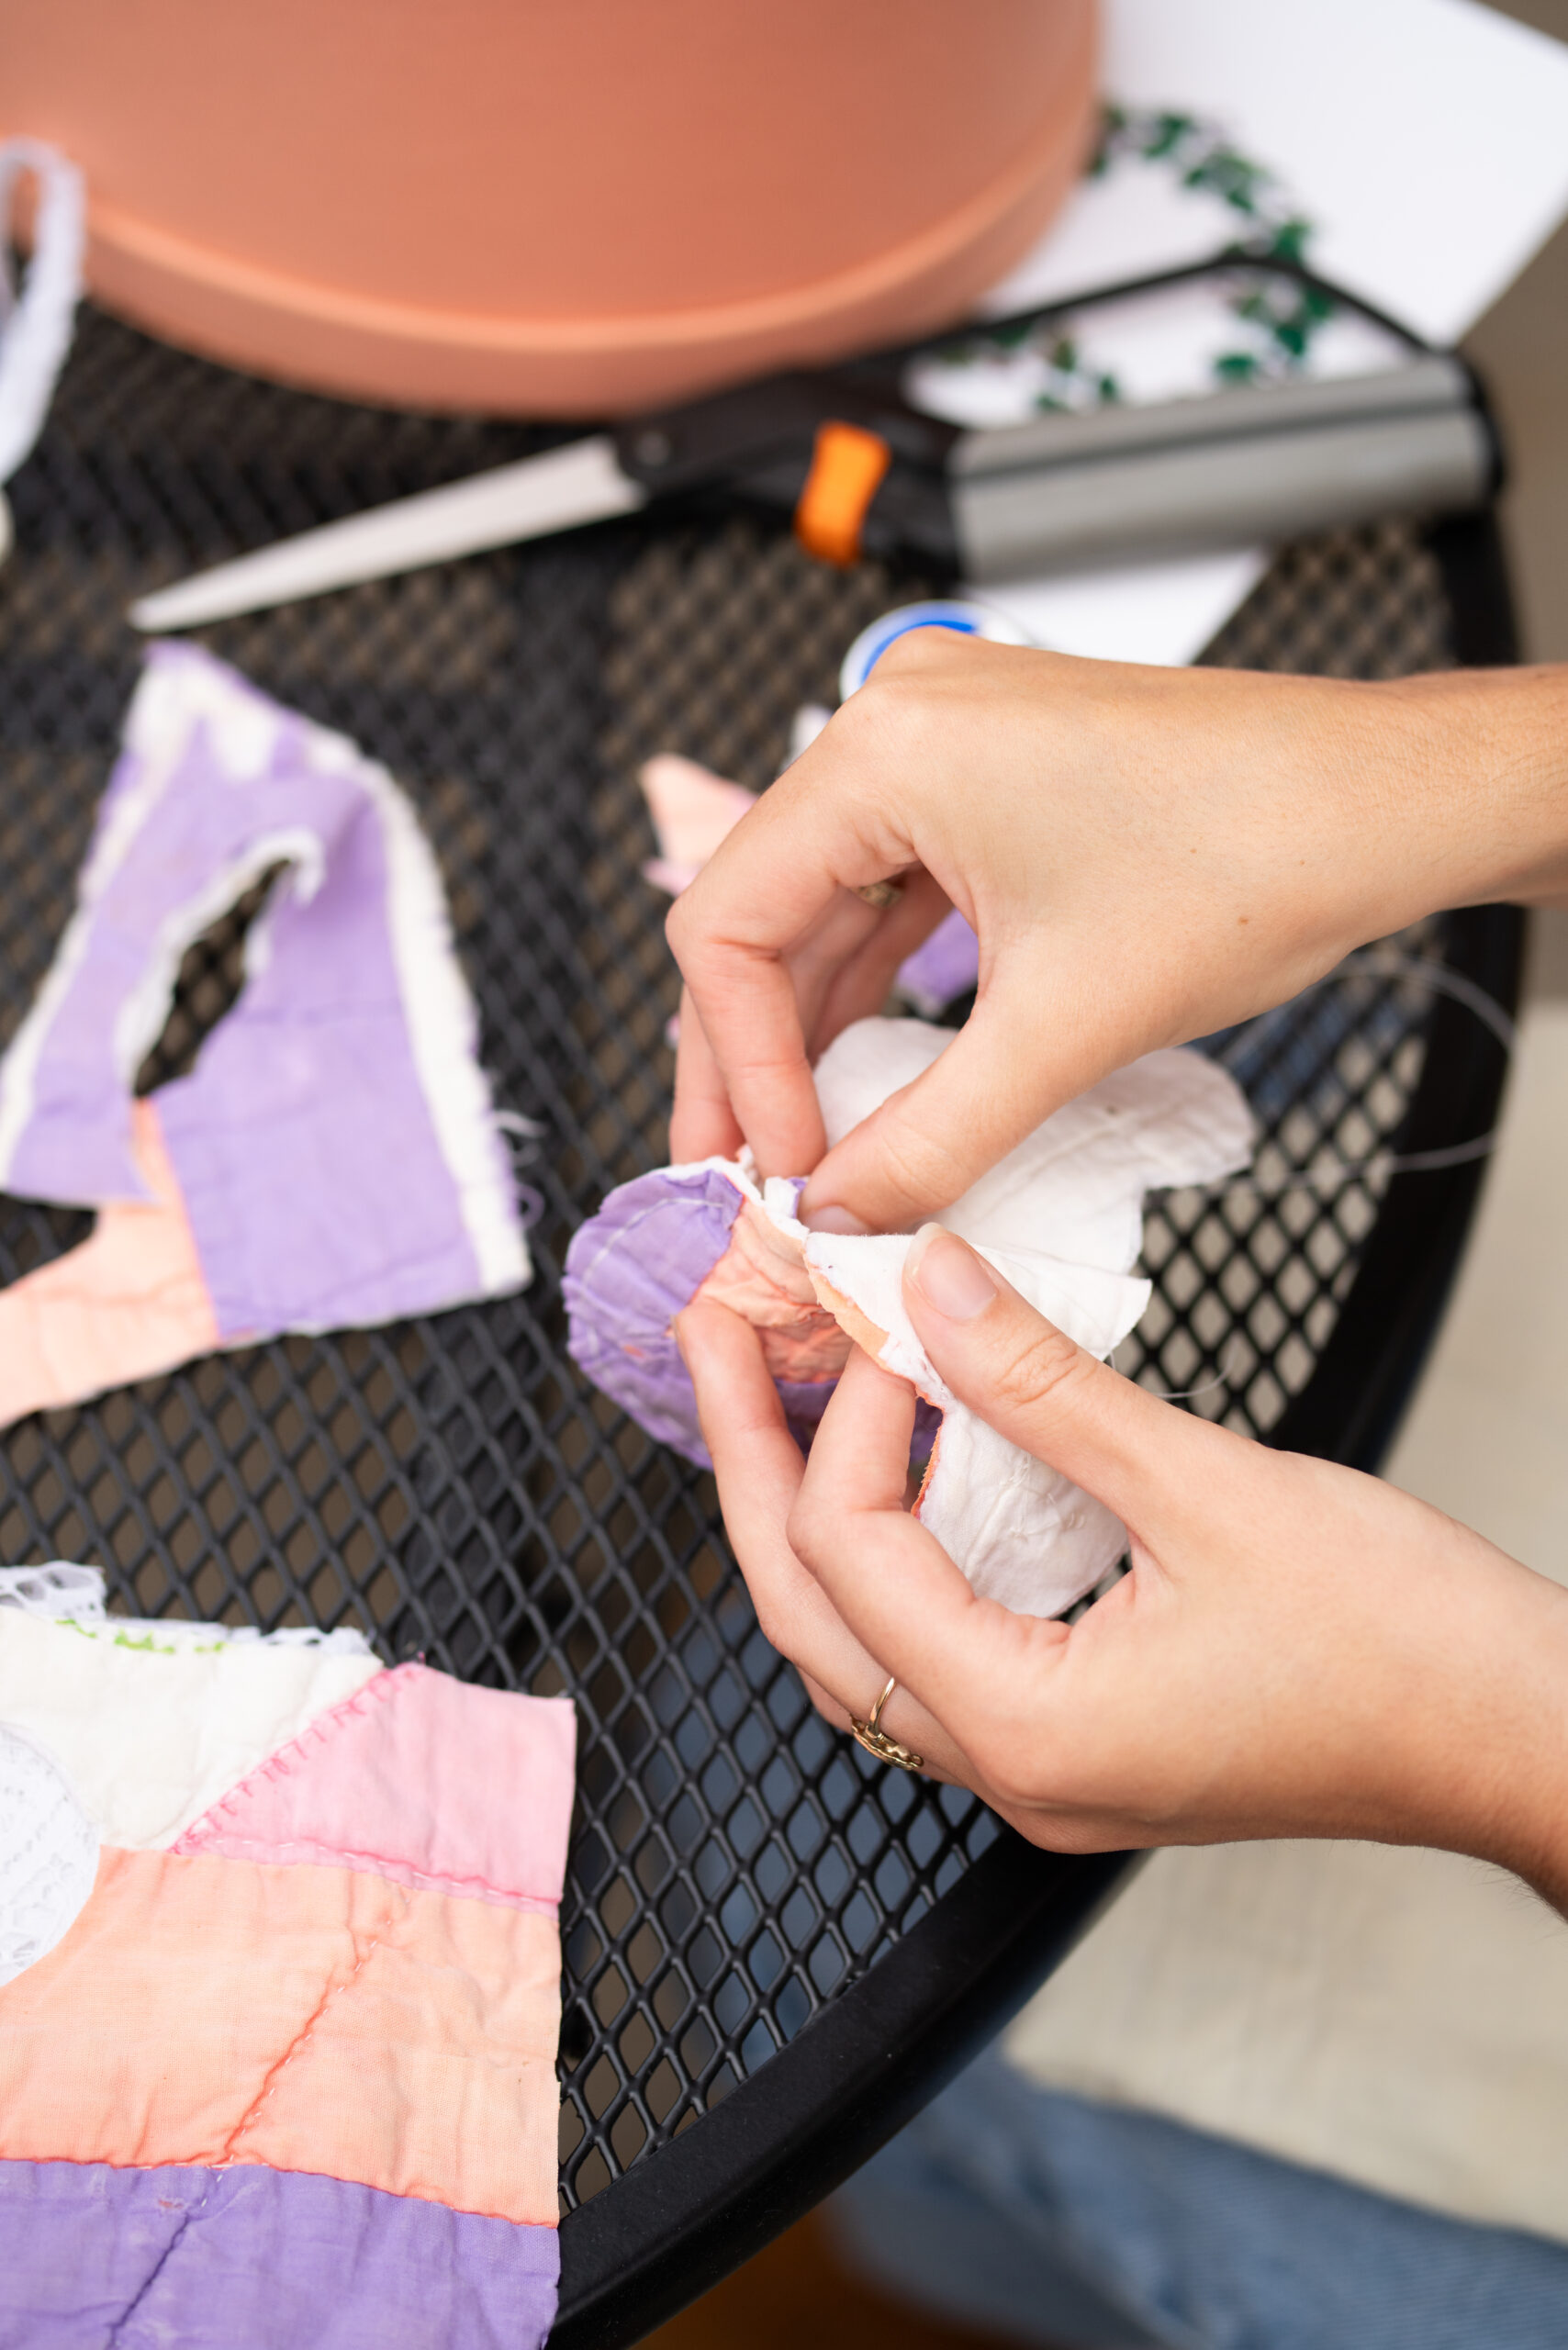
8. Cut the excess scrap fabric into one-inch pieces to use as stuffing. When most of the base of the snowman is sewn together so it creates a pocket, stuff these scrap pieces into the snowman’s base to create dimension.
9. Begin sewing the middle part and head of the snowman around one side and the top. When you reach the side that is still open, stuff more of the scrap pieces of material into the snowman’s head to create dimension, sew it closed, and then stuff scrap pieces of material into the middle section and sew it closed. Cut off the remaining thread and tie the ends of it together.
10. To create the ornament hook, cut another strip of material to approximately five inches. Loop the material in half and tack it onto the back of the ornament with needle and thread. Or, you can sew the material hook inside of the snowman as you sew around the head of the snowman by placing the ends of the material in the snowman’s head.

