When she was three years old, nurses noticed Monica Foltz’s aptitude for painting while she spent time in the hospital. They suggested to her parents that they put her in art lessons, and as the youngest of art teacher Brenda Seyer’s students, Foltz began her lifelong journey with and love for creating.
Foltz says even at a young age, she was especially drawn to batik, a hand-dyeing technique, because of the natural processes of this “more grounded form of painting,” and enjoyed that process more than going to the store to buy paint. As she got older, however, she began choosing to participate in sports more than art — her “only semi-regret in life” — and didn’t make as much time for artmaking.
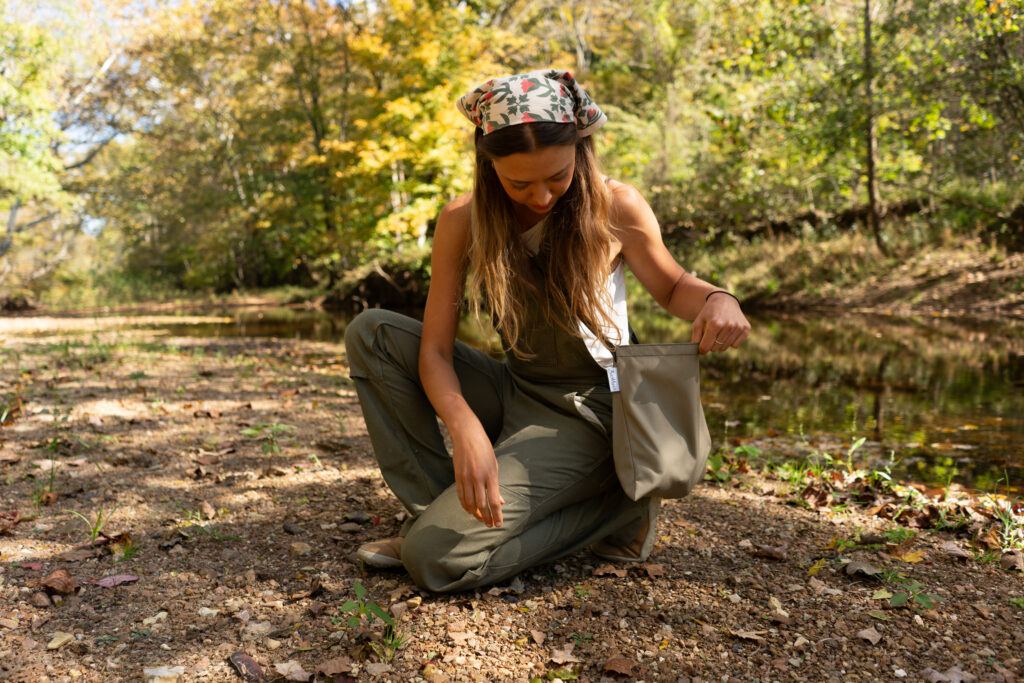
Her active lifestyle eventually led her back to art, though: As a cyclist who rides a lot of dirt and gravel roads on her bike, she says she began noticing all of the different colors of rocks as she rode and how they varied from yellow-brown to reds to deep, dark colors. She says she wanted to know how she could use the colors she saw in nature in her art.
“You enter a deeper relationship with your work [when using natural processes],” Foltz says. “It’s a slower process, you’re more in-tuned with your surroundings, you’re more of a conduit of the art that’s already there, instead of kind of bypassing the process and just going straight to the store buying red, yellow and blue and all the paints.”
Foltz collects pigments from her family’s land near Millersville, Mo., to use in her artwork. She says as a child, she had “an intimate relationship to the land,” building forts and trails with her brother on the property, taking note of its beauty. She recognizes the hard work her dad has put into making his childhood dream of owning land with a creek on it a reality.
“The older I get, the more I think [this dream of his] makes sense,” Foltz says. “So, I think there’s also a pull to want to show him how appreciative I am of the land that he worked so hard for.”
For Foltz, making her own paint is worth it because art is all about the “work of the process.”
“I always love the creative journey; I’m always sad when a painting is done,” Foltz says. “So, if I can lengthen that time where it makes sense to do it that way, and it forces [me] to slow down and take more time to be outside and be aware of [my] surroundings [by making the paint] … that’s definitely the pull there.”
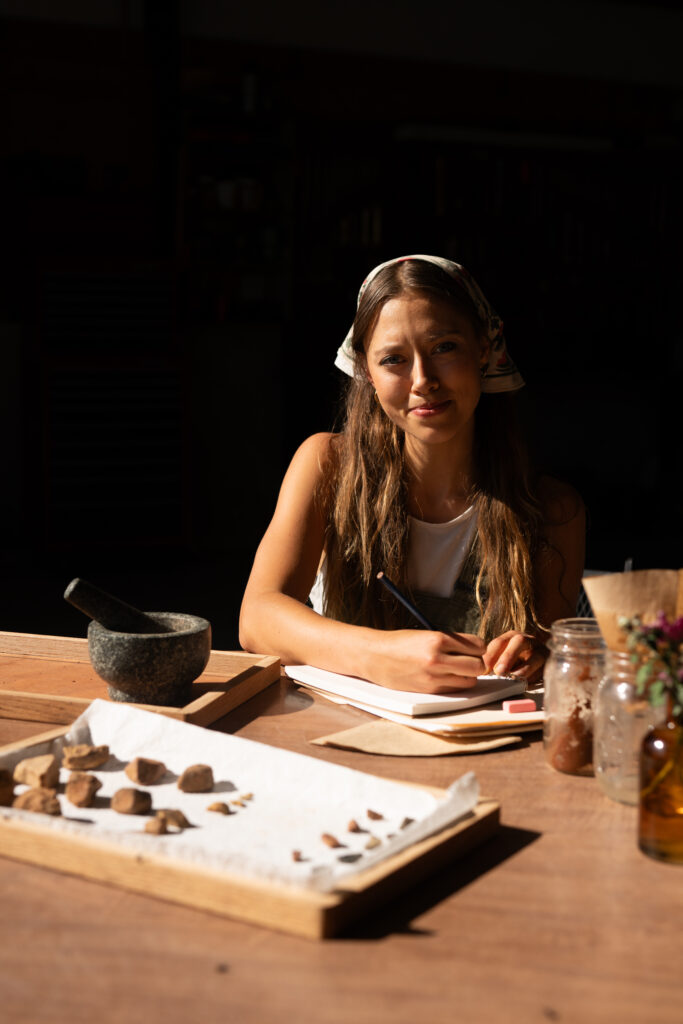
Here, Foltz teaches us how to make paint from pigments found in nature.
Make your own paint
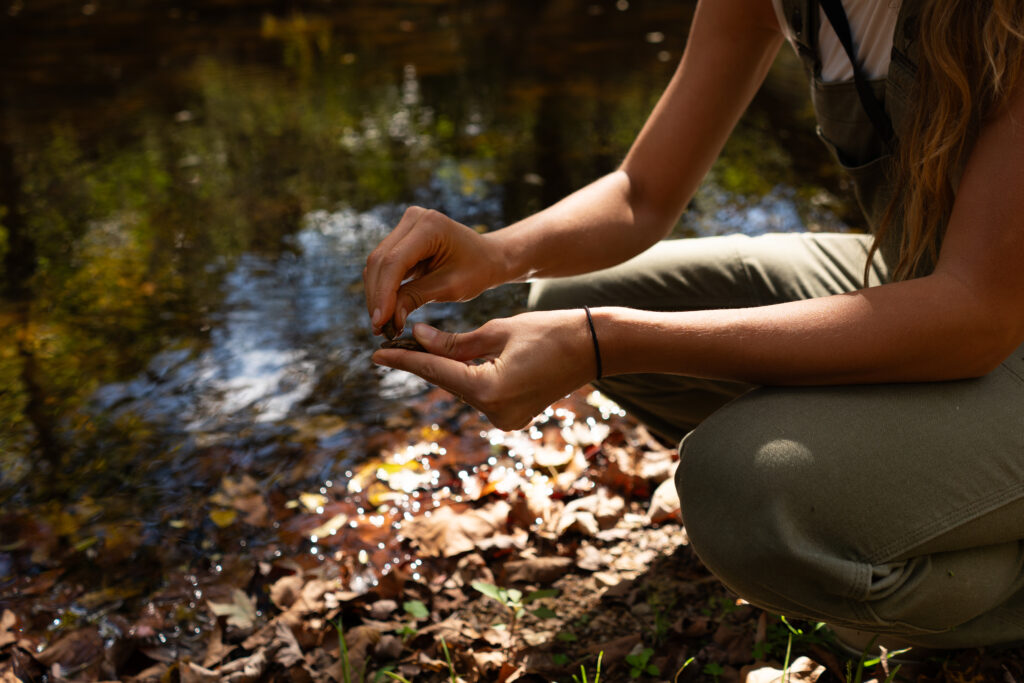
1. According to “Mineral Resource of the Month: Iron Oxide Pigments” by the U.S. Geological Survey, yellow and brown pigments are derived from limonite, red pigments are derived from hematite and black pigments are derived from magnetite. Find pigment by looking for rocks in nature and conducting a scratch test using a rock that is harder than the rock you think might contain pigment. It is best to look for pigments in exposed places without greenery, such as along water.
2. Wet the harder rock and scratch the rock you think might contain pigment against the harder rock to see if any color comes off of it. If it does, place the rock with pigment in a collection bag you’ve brought along with you to take back to your studio. Continue collecting until you have a variety of colors and enough to make the amount of paint you need.
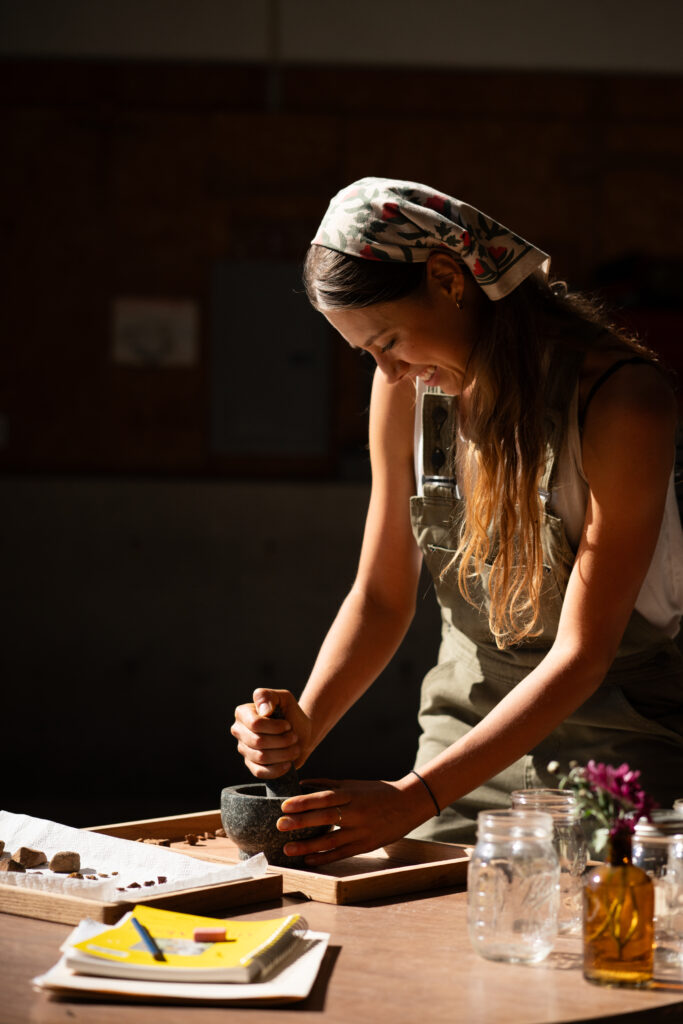
3. Place like-colored pigments in a granite mortar and pestle and grind them into a fine powder.
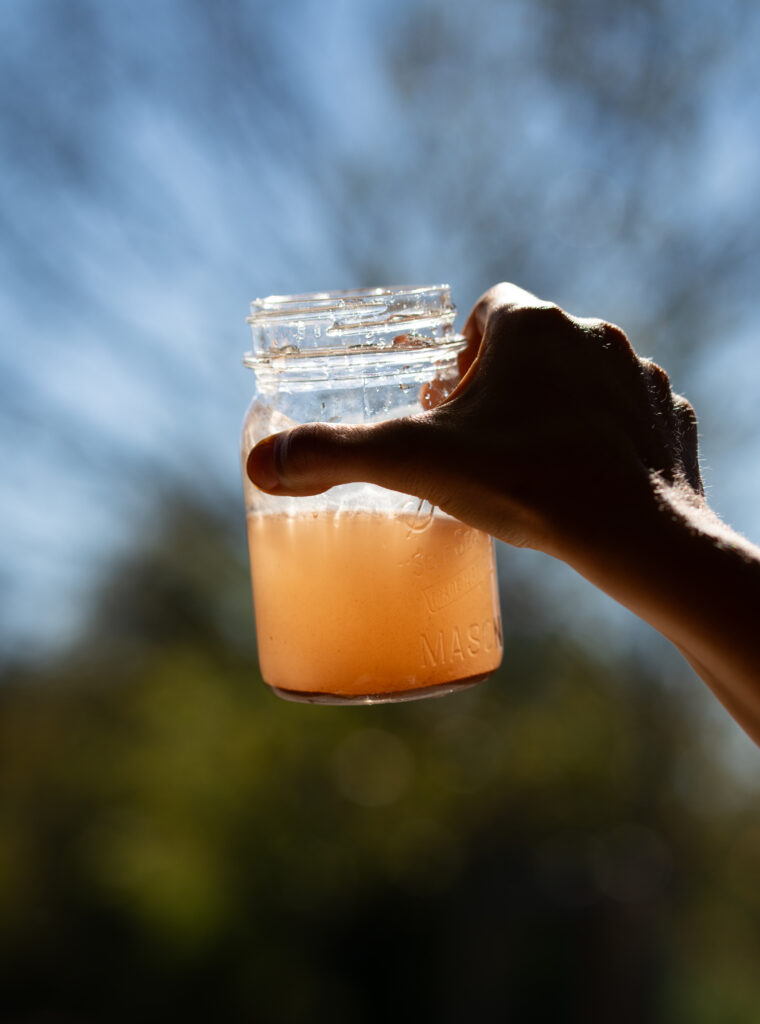
4. Put the pigment in a jar of water and wait for the sediment waste to rise to the top and the pigment to settle at the bottom. Then, carefully dump out the water and sediment at the top of the jar.
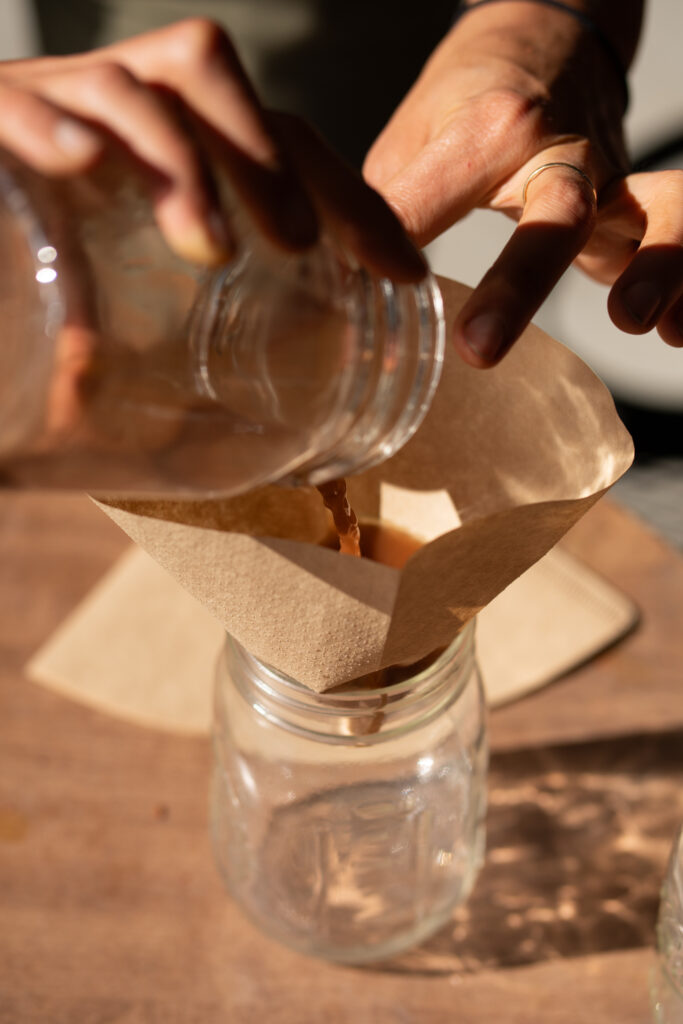
5. Place a coffee filter into another jar and pour the remaining water and pigment from the first jar into it. Wait for the water to filter through the coffee filter, leaving the pigment behind in the filter. Let the pigment dry.
6. Mix the pigment with the medium of paint you want to create: for example, linseed oil or walnut oil for oil paint, or egg yolks for tempera paint. At this point, the paste should be dry and stiff in consistency.
7. On a flat surface, place a muller, which is a tool with a handle and heavy weight at the bottom used to grind pigments, on top of the paste, and move the muller in a circular motion outward from the middle of the paste. When the paste becomes spread out, collect it back to the center and repeat the mulling process. Mulling the paste will help it to become wet and soft; mull it until the paint reaches the desired consistency. Then, you’re ready to store the paint in a tube or to start painting!
