Preservation is an act of hope. It is an act of strength and will. It is an act of organization, good planning and looking to the future.
Here, Shirley Buchheit from Apple Creek, Missouri, teaches us how to can green beans, a traditionally female activity we want to pass on and preserve. We hope her dedication to craft and sharing of her knowledge encourages you to try your hand at this pursuit, too.

Each year, Shirley Buchheit of Apple Creek, Missouri, puts out a 75-by-30 feet garden with her husband, Lawrence. In it, they grow any kind of vegetable you could get a hankering for — green beans, onions, radishes, lettuce, spinach, zucchini squash, yellow squash, cabbage, broccoli, okra, tomatoes, sweet potatoes, white potatoes and more. She cans or freezes most of these vegetables, and also makes salsa, tomato juice, V8 juice, grape juice, jellies, jams and applesauce.
Shirley has been canning since she was 8 years old. It was something she helped her mother with, starting out cutting the ends off green beans with her siblings. When she married 53 years ago, she also canned with her mother-in-law; when her own children lived at home, she says she canned 100 quarts of green beans each year.
Shirley and Lawrence both grew up on farms. For Shirley, canning is a challenge she likes to do for her family. She enjoys being able to eat fresh produce without preservatives, knowing where it’s from and what is in it.
“It’s a good feeling, especially when you go down [to the basement] in the wintertime when there’s snow on the ground,” she says. “You go down and get all this stuff out for supper, potatoes and green beans, and we have our own meat and our own chicken, and we did it all on the farm.”
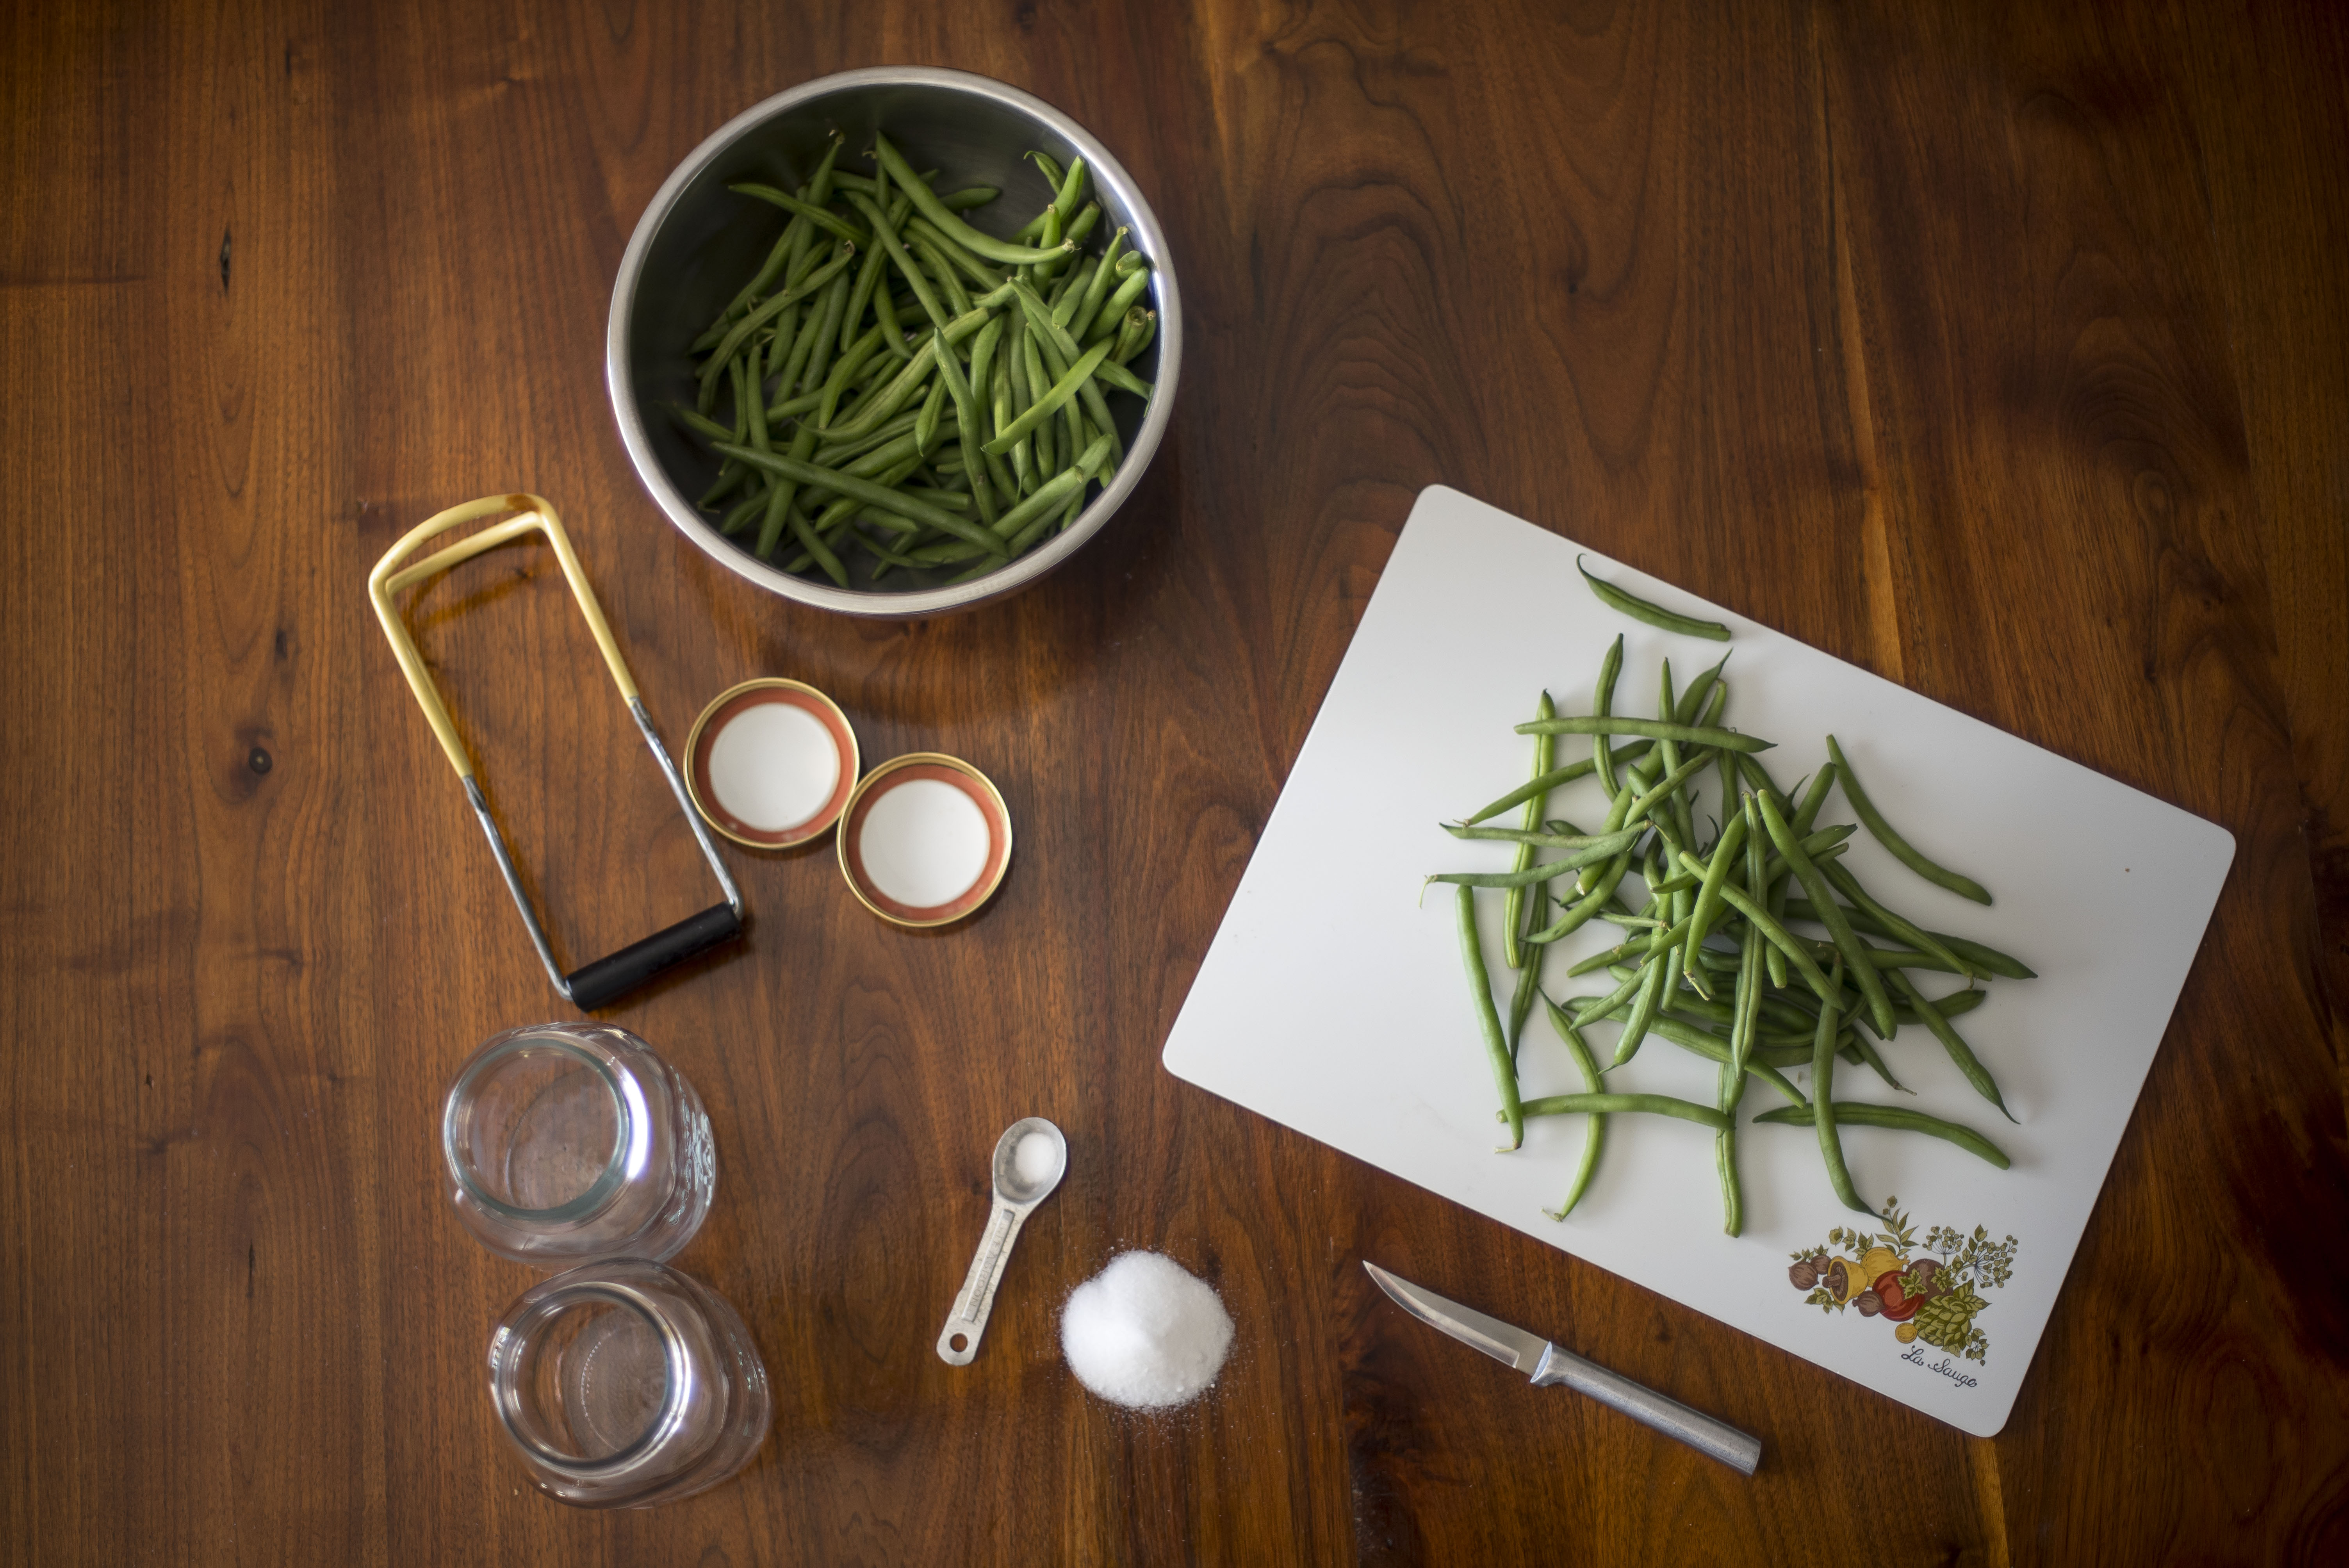
Materials Needed:
-Quart-sized canning jars
-Metal canning lids
-Metal canning rings
-Fresh green beans
-Canning salt
-Water
-Hot water bath canner
-Jar rack
-Jar lifter
Hot Water Bath Canning Process:
Shirley uses the hot water bath rather than the pressure cooker to can green beans because she says the beans retain more of their bright green color that way.
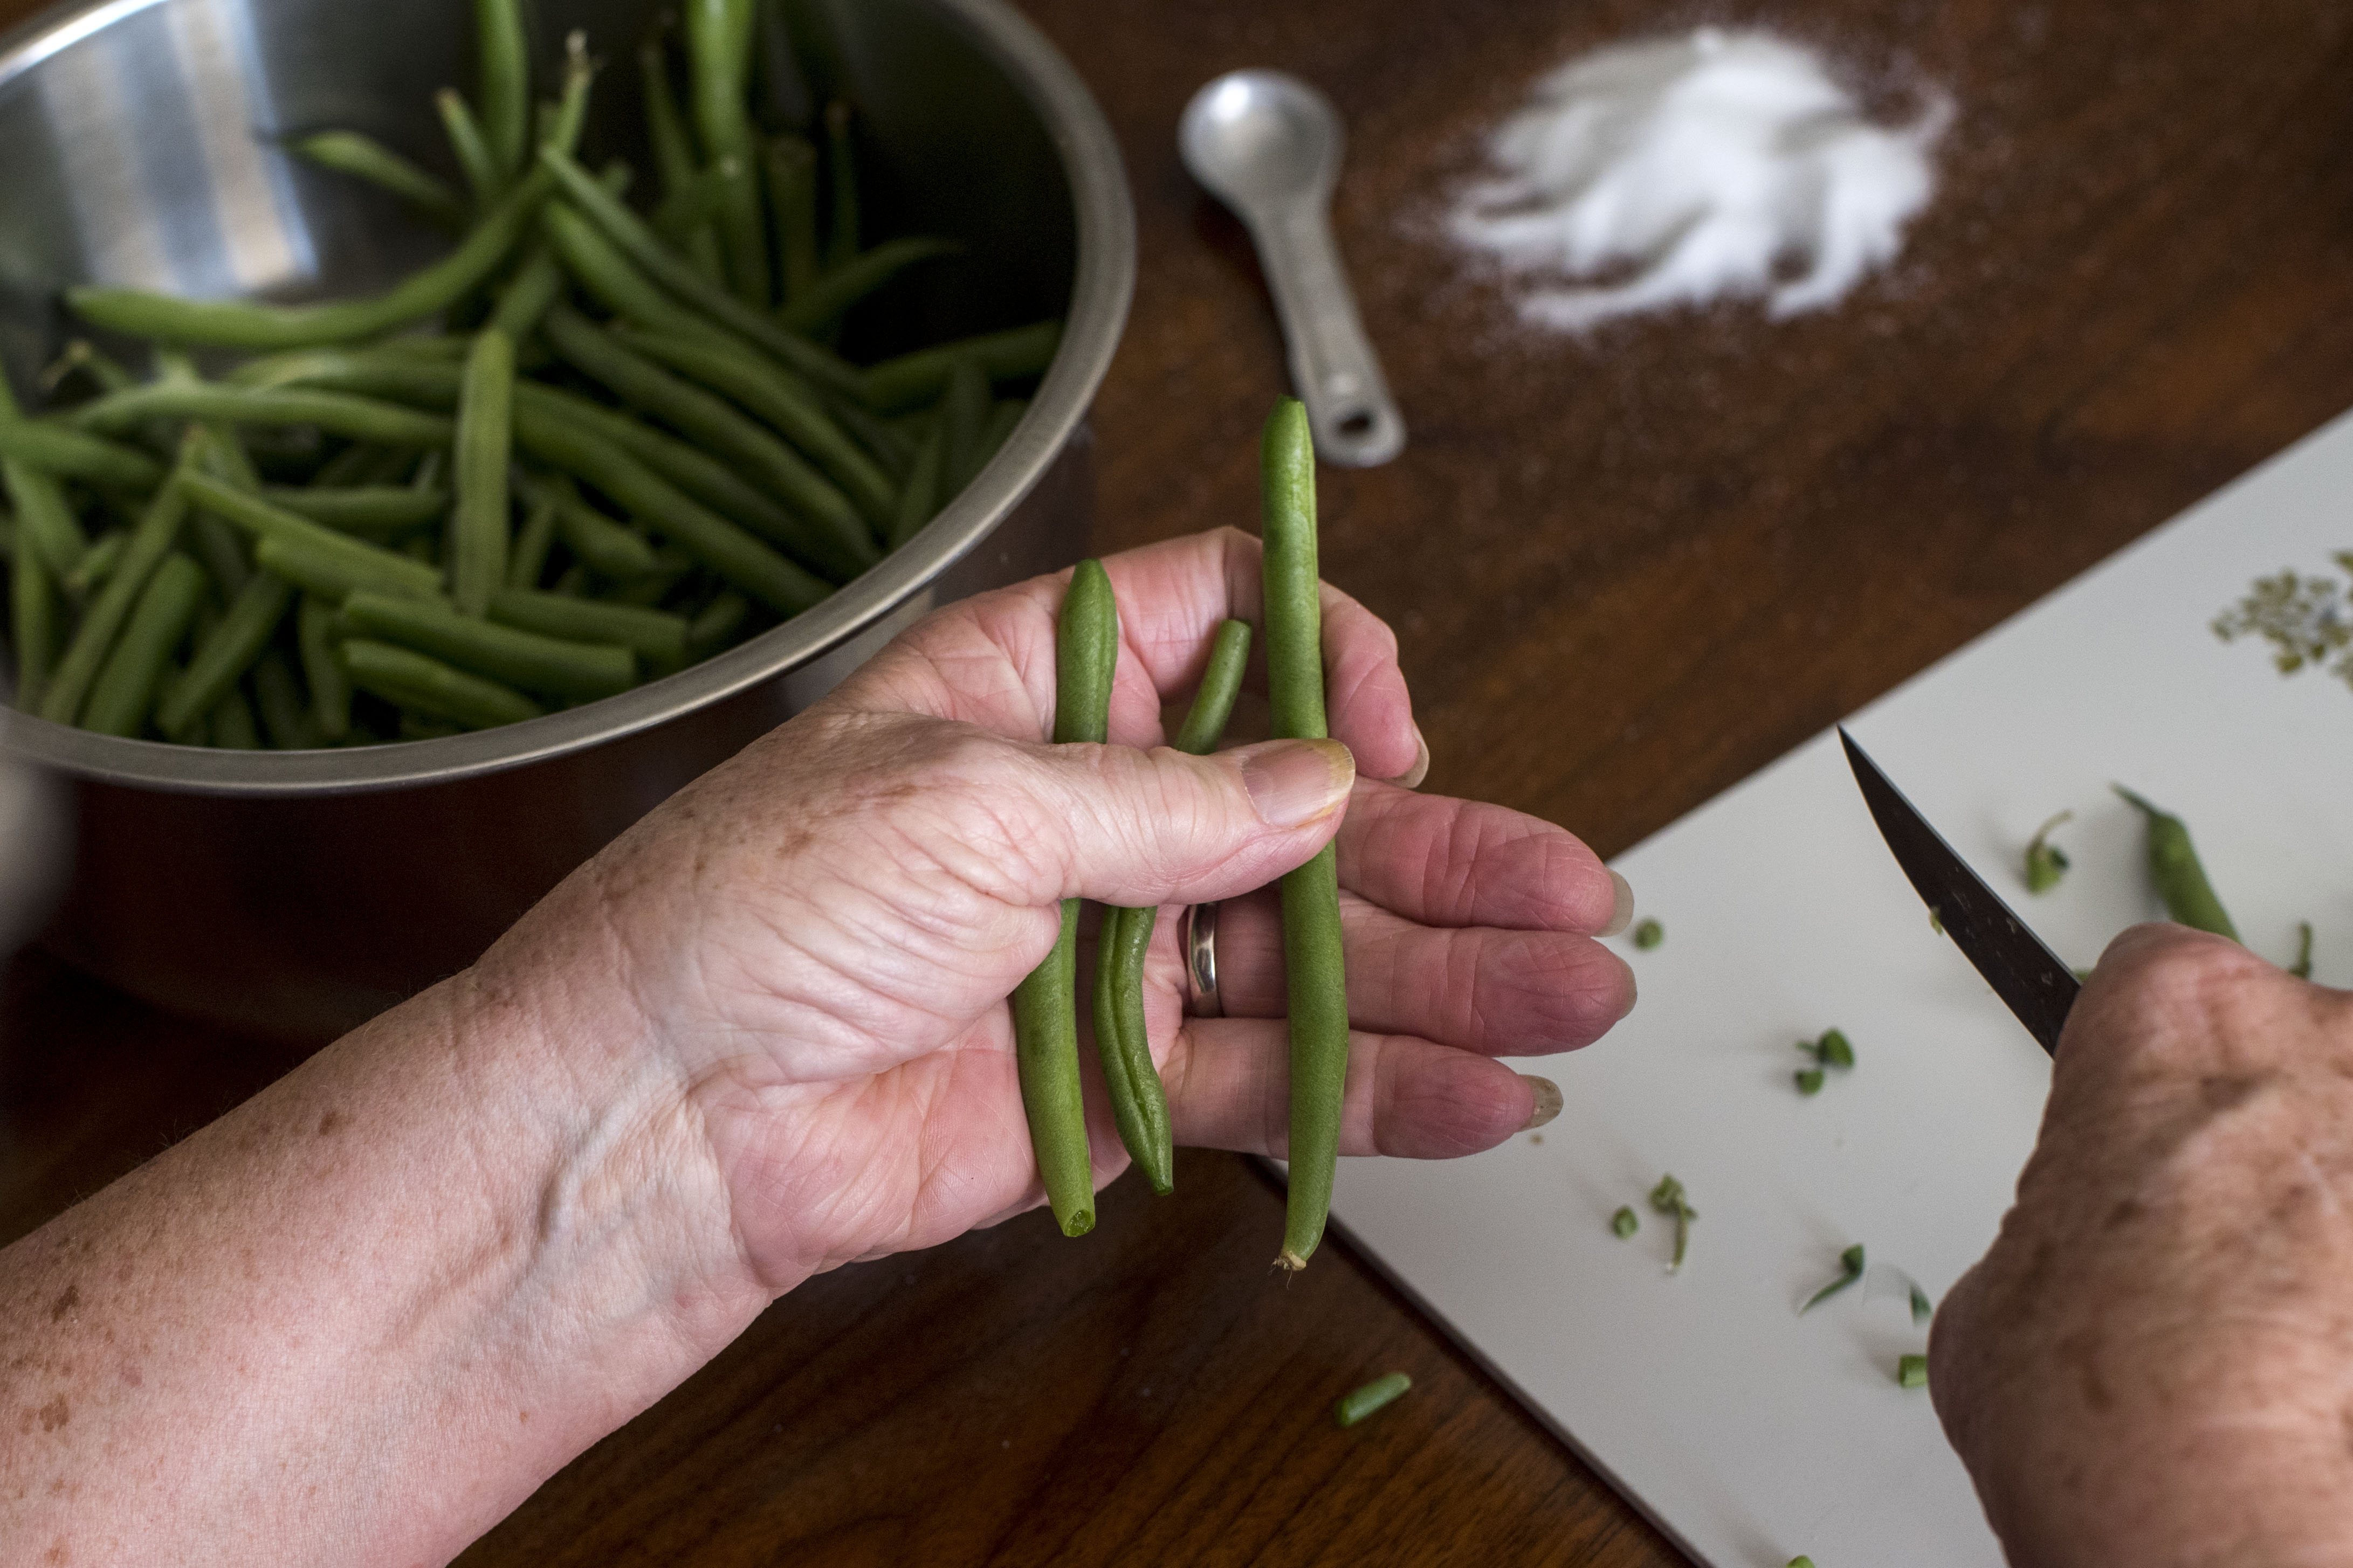
- Pick the green beans from your garden, or buy fresh green beans from the store. Cut the ends off of both sides of the green bean. You can choose to cut them in half or to leave them whole.
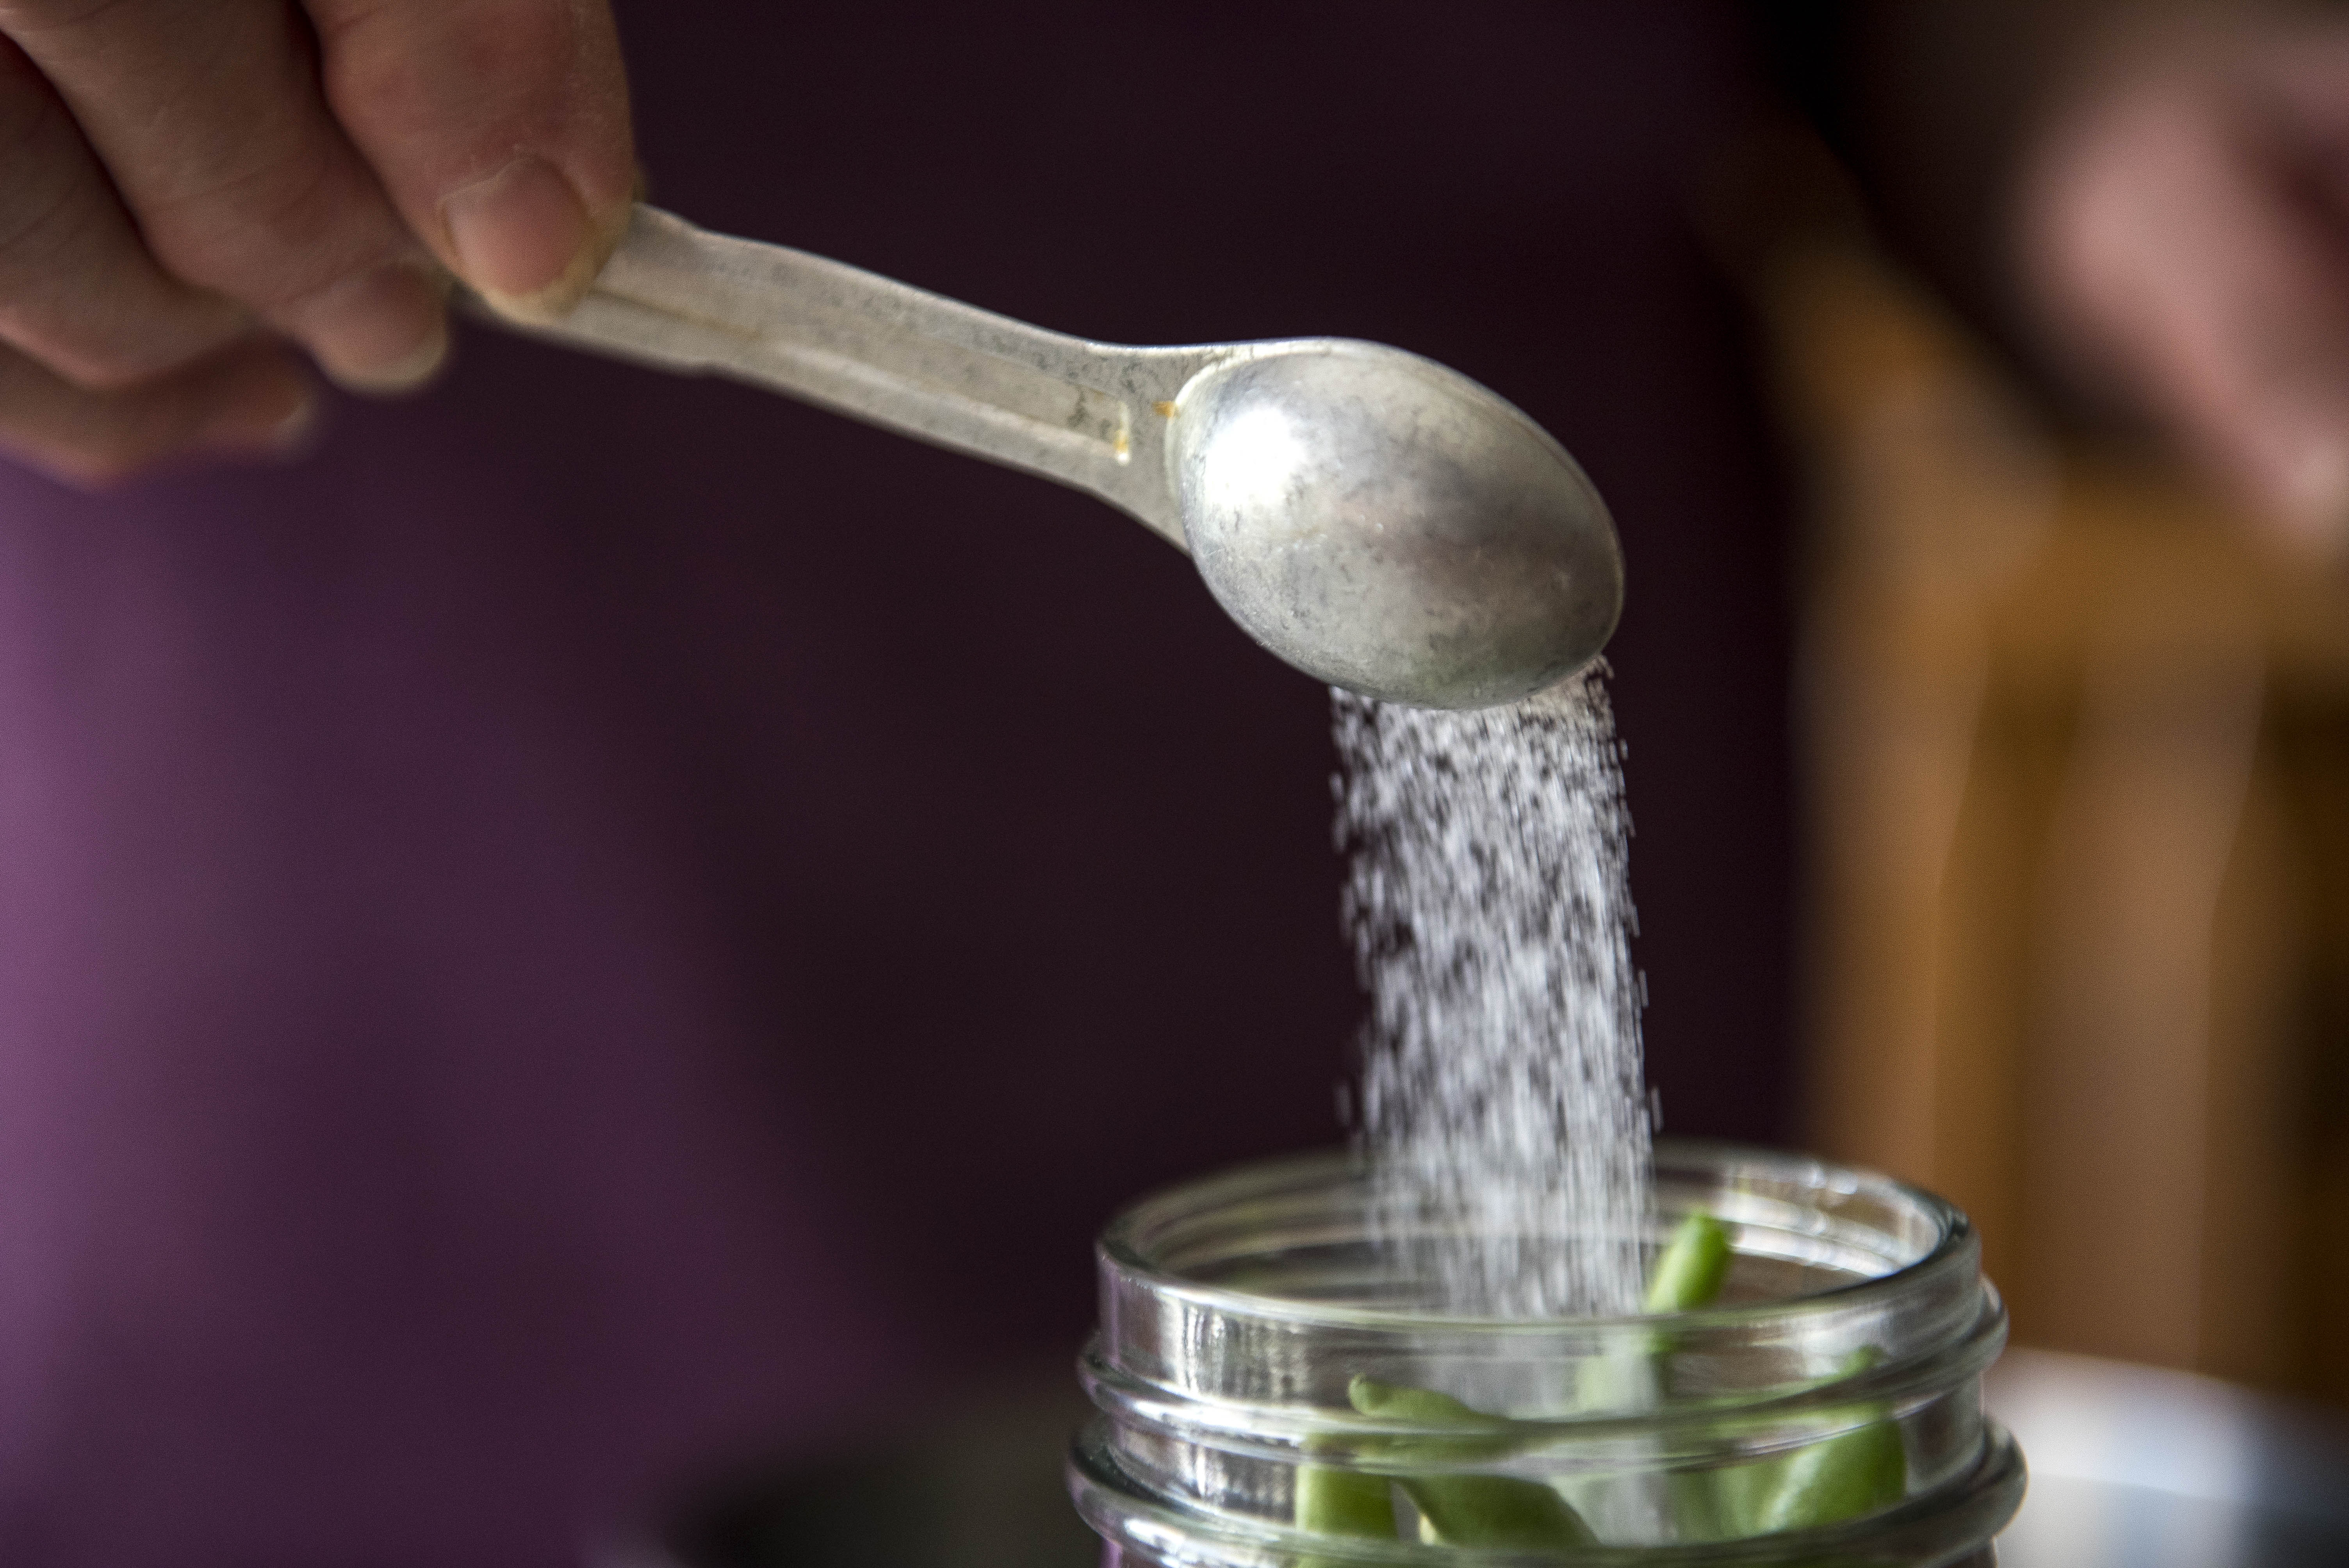
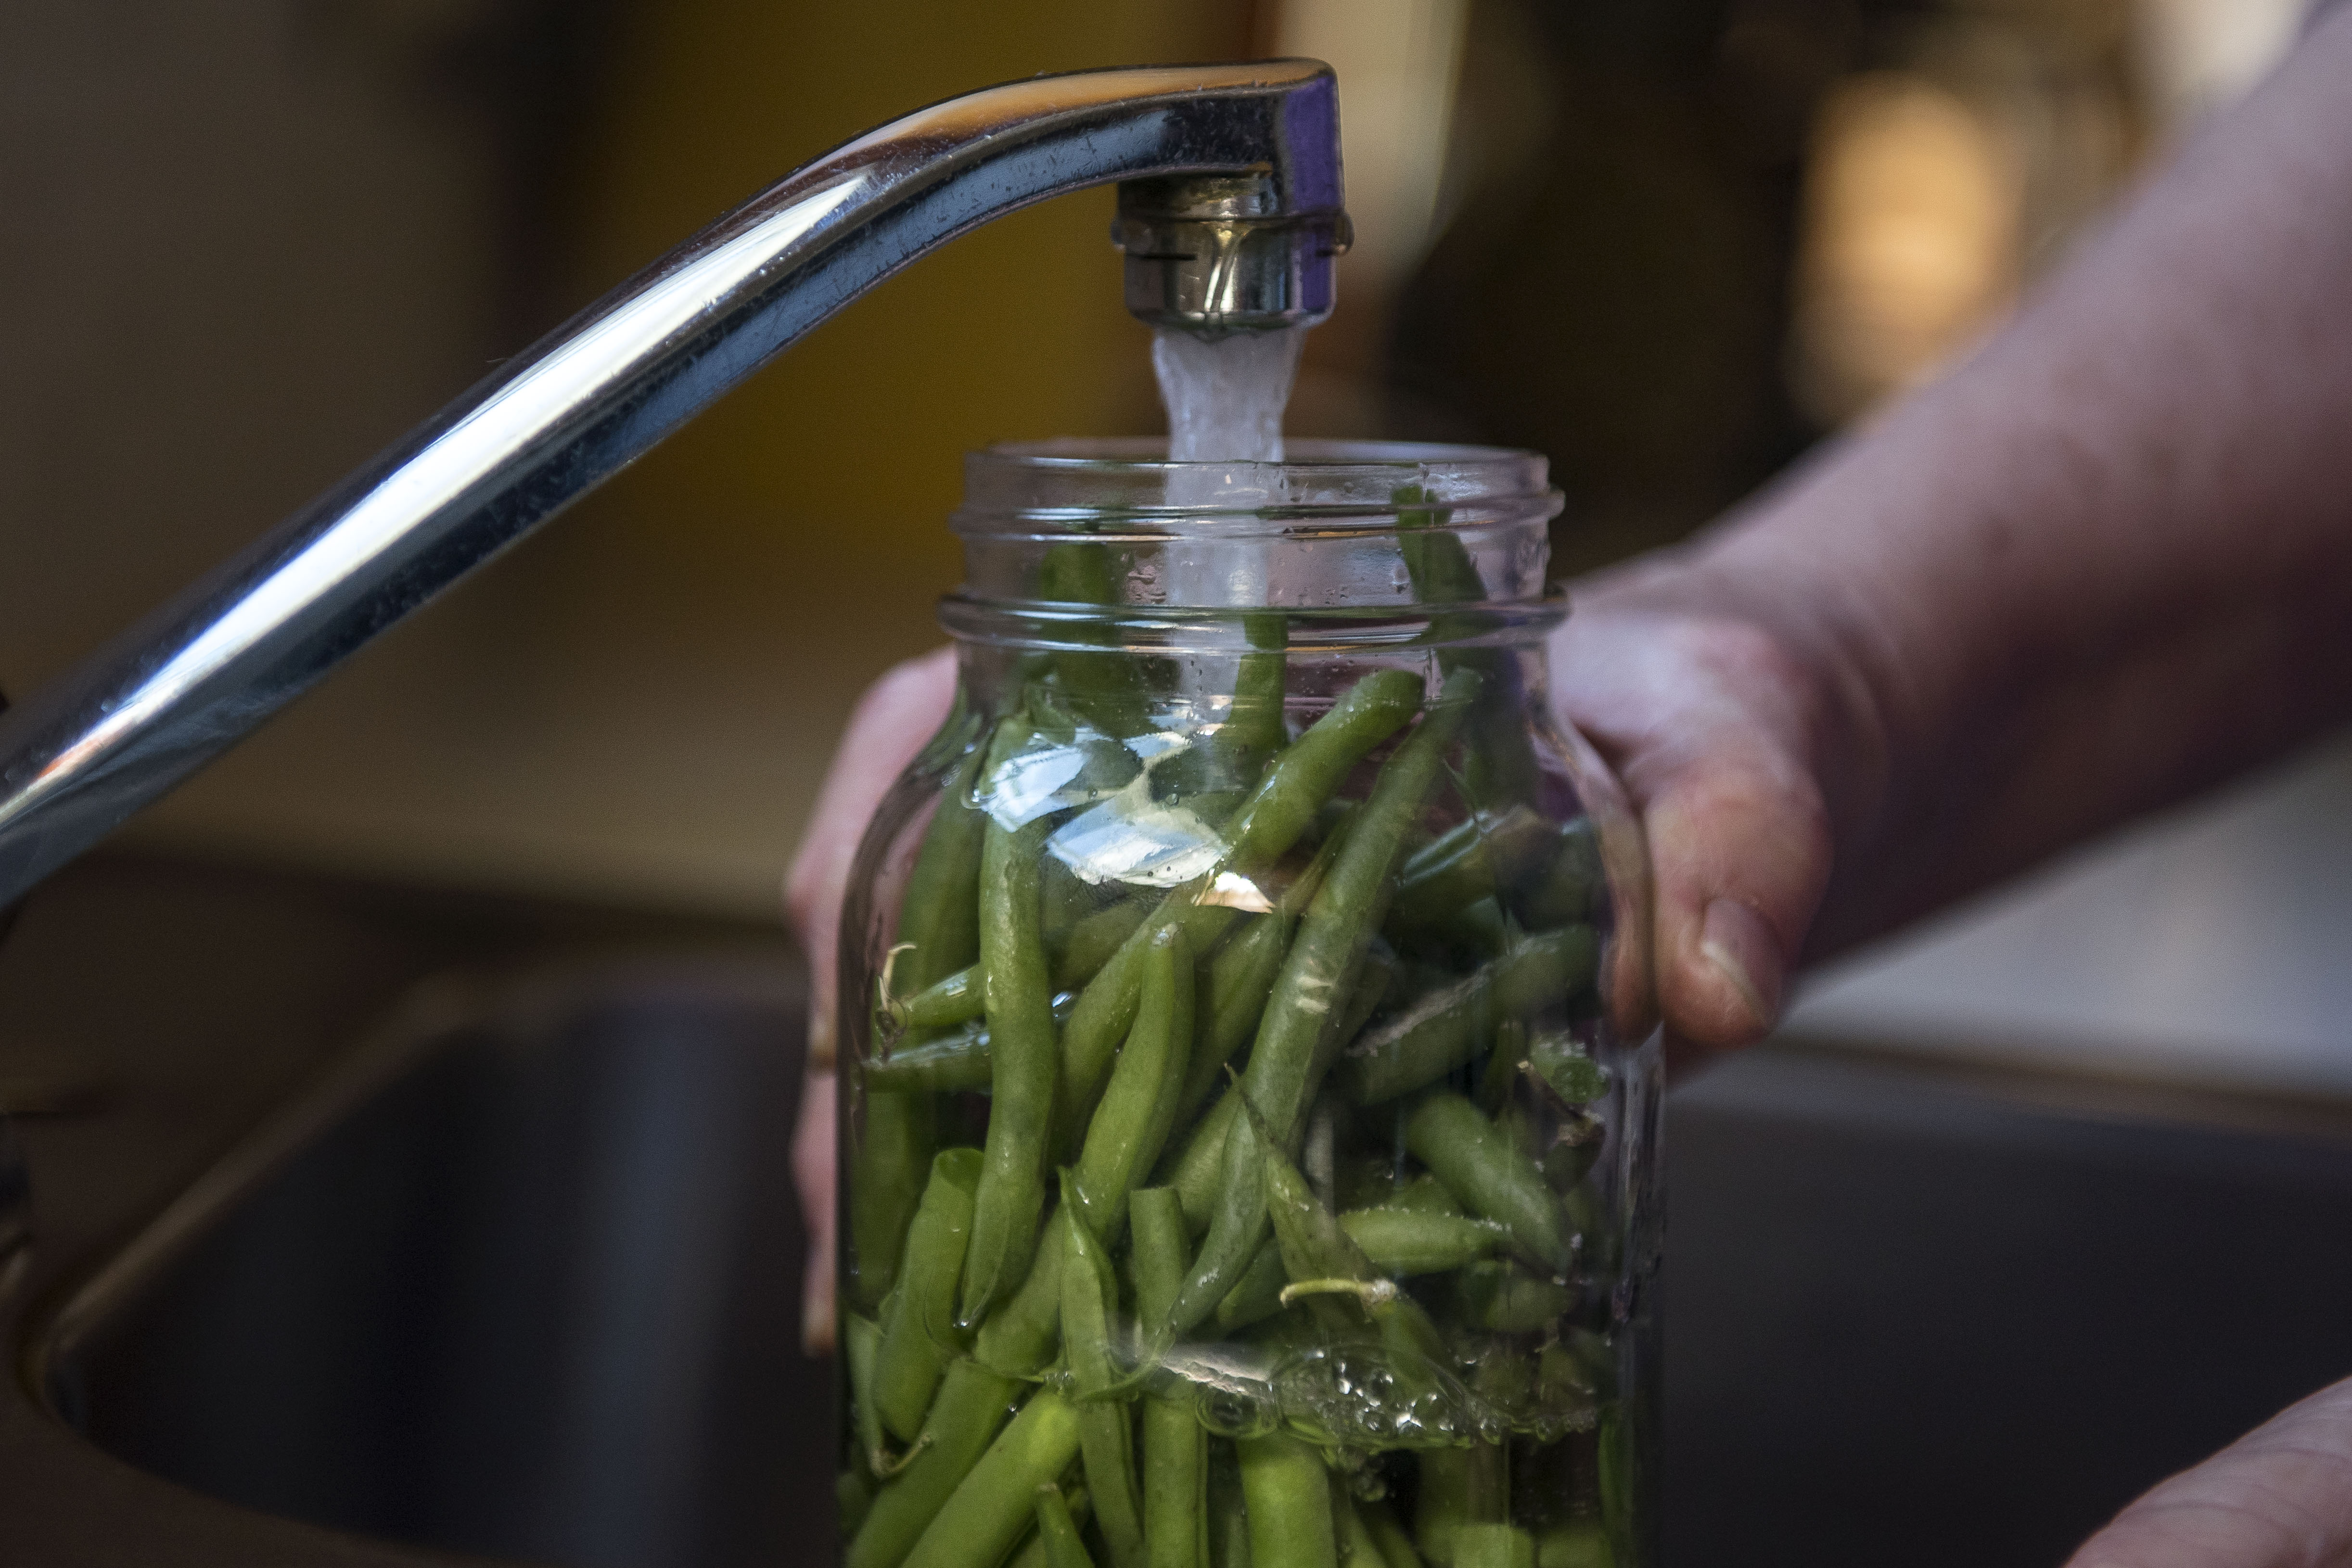
- Fill a quart-sized jar with the beans. Put one teaspoon of canning salt in the jar. Fill the remaining room in the jar with cool water, up to the jar’s neck. Tighten the lid and ring on the jar.
- Fill the hot water bath with cool to lukewarm water, up to the rim of the jars. Place seven quarts in the bath and bring the water to a boil. Turn the heat down and let it boil for one and a half hours, and then remove the jars with a jar lifter. Place hot jars on a rack and cover with a bath towel to keep the heat in until the lids begin to pop, signaling they have sealed.
Shirley’s Pro Tips:
-Pick the green beans the evening before you plan to can them; picking the beans in the morning when the dew is on the vine will make the vines rust and turn brown.
-Wash your jars and lids in hot, soapy water before the canning process to make sure they are clean and sanitized.
-Wait to wash the green beans until just before canning them.
-Reuse the rings and jars, but throw away the lids once they have been used.
-Store the canned vegetables in a cool, dark, dry place, so they last longer.

